Rear Cabinets Removed in a Reversible Way!
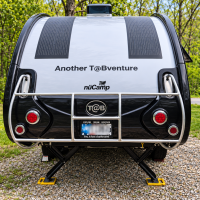
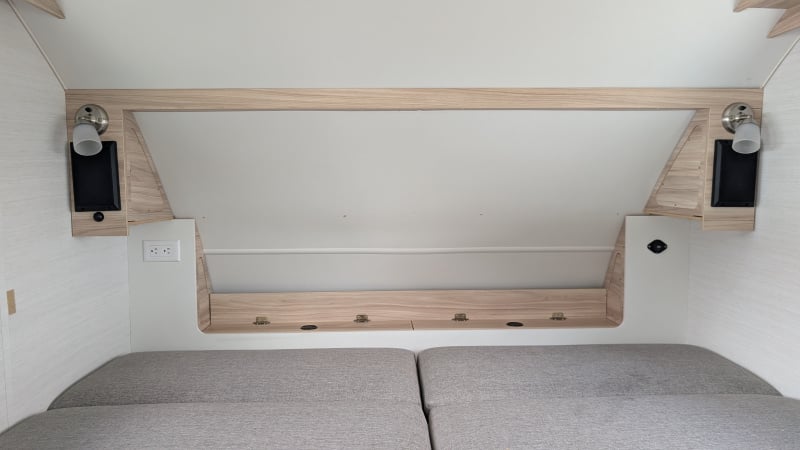
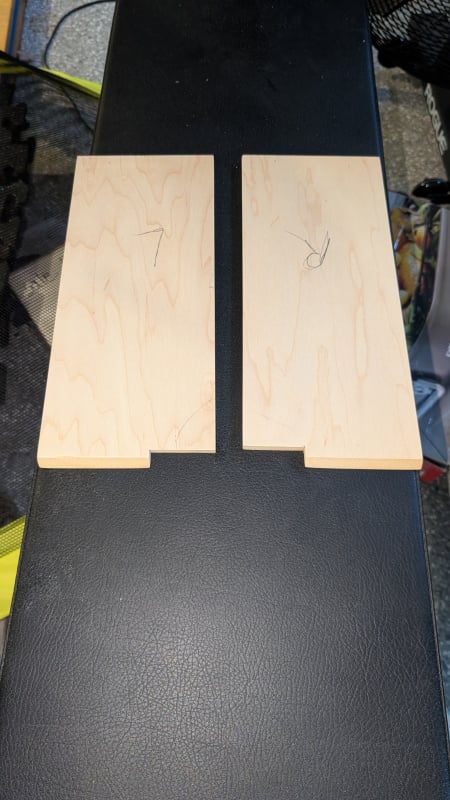
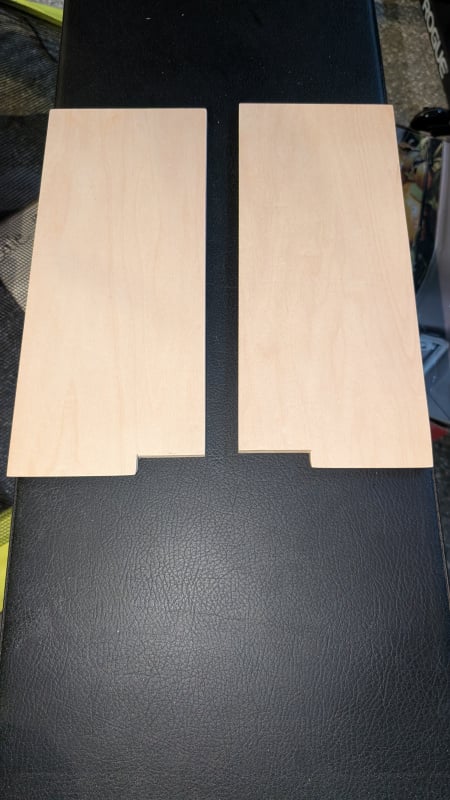
We just completed our first "modification" to our 2025 TAB 320 S Boondock Black Canyon. After my wife and I tried various sleeping arrangements such as NS, SN, EW, the above configurations in both full and twin bed modes, we decided to remove the rear cabinets. I have read countless posts of others who have done this and were happy with the results. I want the modification to be completely reversible, meaning the bottom self had to come out in one piece instead of cutting at the speaker enclosures. FINALLY figured it out. I made a couple of speaker cabinet bottoms out of 3/8" maple veneered MDF plywood. We're happy with the results! We added some poly fiber fill to the speaker cabinets while we were at it. I ordered some FastCap 3/8" white self-adhesive screw hole covers for the 4 screw holes in the rear wall.
https://ourtabventure.com/2026/09/11/removing-the-rear-cabinets-tab-320-s/
2025 T@B 320 S Boondock Black Canyon - “Another T@Bventure”
2024 Jeep Grand Cherokee Overland
Comments
-
@ClayC I wish I documented it. I was derailed, but after discovering how it is installed, here is an outline on how I would do it, without my side trips:
TL:DR
- remove the 4 pocket screw covers along the bottom back side
- remove the 13 screws from the bottom
- remove the front drawer lids - 16 screws where hinges attached to top frame
- remove the two screws holding the center frame to trailer wall, one on each side of center divider
- remove speaker side covers - 4 screws each (#1 Roberston)
- remove the three screws inside each speaker cabinet where the sides meet the trailer outside walls
- roll the top frame assembly forward and down towards yourself allowing you to see inside the speaker cabinets from the top - be gentle as there are two small screw studs in the bottom shelf at the back that you will be prying the panel away from.
- Look inside the speaker cabinets and remove the two screws in the from plastic L bracket in each speaker box. One of my detours was to remove the speakers and remove these screws before rolling the frame down. Doing this as outlined may save you from having to remove the speakers.
- remove the wiring strap screw from each speaker cabinet to allow the wiring to flex. If you decide to unlatch the wiring connectors to make this easier, take a picture of the wiring, color connections.
- remove the two top screws from the center divider and remove it
- At this point the only thing holding the bottom on is two small screw studs on each end where the bottom shelf meets the outside panels of the speaker enclosures. It was impossible for me to access the outside "side", but these screws only penetrate the bottom panel by an 1/8". I used a rubber mallet carefully tapped each end to separate those connections - bottom panel is now removed, cleanly
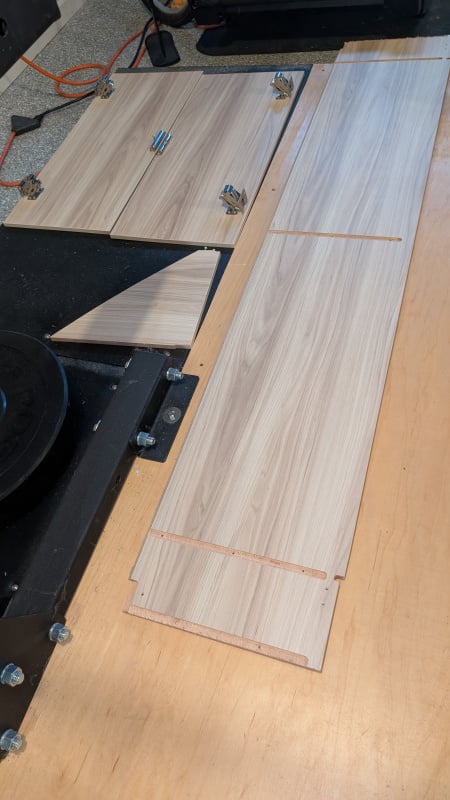
- I made four bottom covers from 3/8" maple veneered MDF plywood - small panel can be purchased from Menards. Why four? Two reasons 1) I didn't measure twice and cut once and 2) the screws are 1/2" and wet through my panels. I used some flat washers on the original screws so they could be used to attach the new bottoms.
- I am not a wood worker and I do not have a router, but I made those bottom pieces with my circular saw with fine blade to cut them out, compound miter saw to angle the back pieces and a jig saw to notch the wiring inlets in the corners
- I fine sanded the pieces and used Varathane Ultimate Crystal Clear Satin Water-Based Interior Wood Polyurethane. four coats lightly sanding between coats, no sanding last coat. Water based, spray can, drying in 30 minutes between coats, no odors.
Not pictured: I later added 4 FastCap 3/8" white screw hole covers on the back wall to cover those screw holes. I am not worried about the hinge screw holes underneath as I usually close my eye when I lay down, lol
2025 T@B 320 S Boondock Black Canyon - “Another T@Bventure”
2024 Jeep Grand Cherokee Overland
0 -
@phillm47 Thanks for such a detailed outline! I’m reading through it and trying to picture in my mind what you are describing. My plan is to bring the trailer home from storage in the next few weeks and with the actual cabinets in front of me I will better understand.
im following most of what you describe except for removing the center frame as well as rolling the top frame down…. Are you talking about the frame that the door hinges attach to?Would it be okay to PM you once I tackle this project (assuming I can figure how to do that lol)
I will take plenty of pics and post them once I do so it might help others looking to do the same.
thanks again!2021 Tab 320 Boondock Edition ("Big Tex") Toyota 4runner
0 -
@ClayC PM me, we will set up a direct communication - text, what's app,…etc.
2025 T@B 320 S Boondock Black Canyon - “Another T@Bventure”
2024 Jeep Grand Cherokee Overland
0 -
hi, there should be a small Access panel on each side. Back out the screw about a I/4 “ and should release. Been awhile ,but a believe there are two screws each side. Swearing is optional.
0 -
I just completed this mod and while not particularly difficult, it is time consuming given the tight quarters and limited sight angles (especially when needing readers to see lol) confounded by going in and out watching the Texas vs Tennessee game…
@phillm47 outline is pretty spot on. My TAB was a little different (2021) but pretty close. I also used a little of @KaomRuns video as well..
I’ll upload some of the more important pics to hopefully help others. Some, like the cabinet door pics and bottom shelf pics, I’ll leave out. Those are pretty self explanatory
TL:DR…. While this is theoretically reversible, I think for most folks the easier option is to just flush cut the bottom shelf at the speaker box and figure out a way to splice in the bottom shelve using some sort of L bracket…..
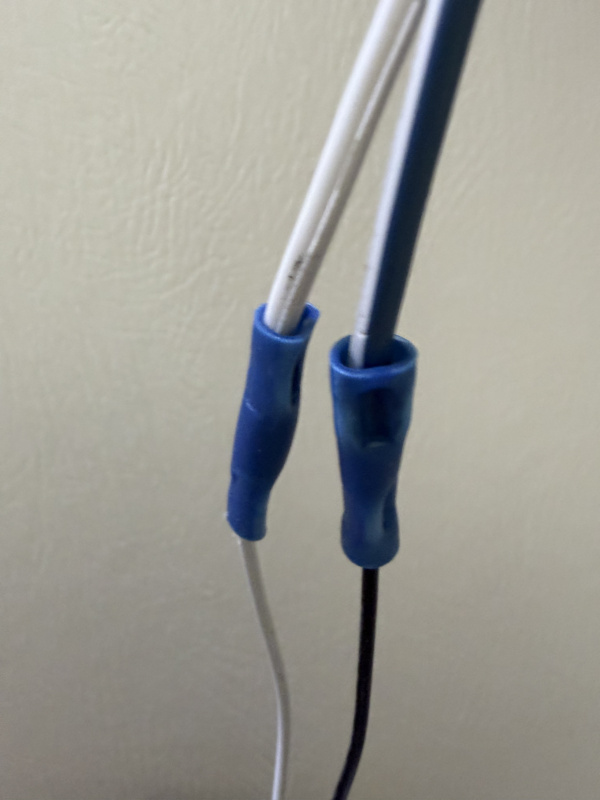
To start… my speaker and light wires were crimp spliced vs WAGO quick connect. I was being lazy and thought I would have enough slack to leave them connected. If yours are, just cut them and re-splice them. I didn’t and I ended up breaking off my wires at the speaker and it’s going to require some delicate soldering to fix.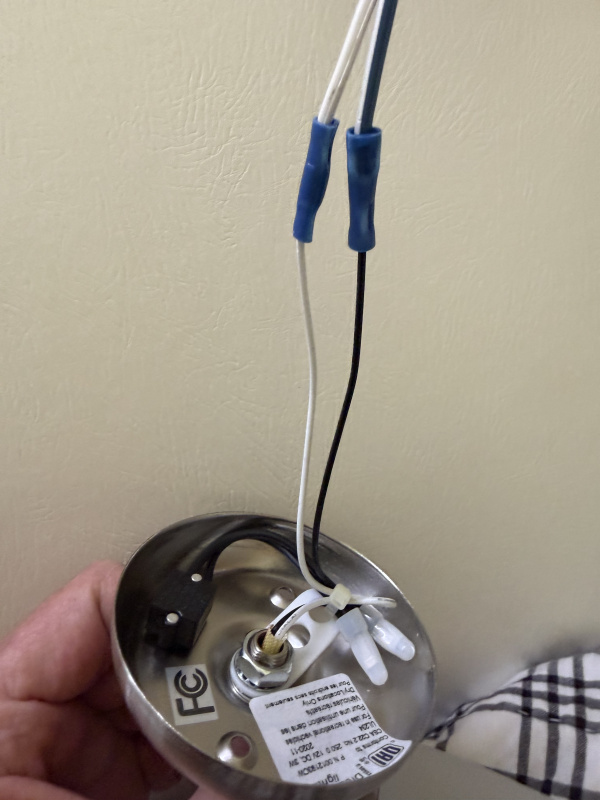
Below… this is the “L bracket” attaching the bottom shelf to the face of the speaker box…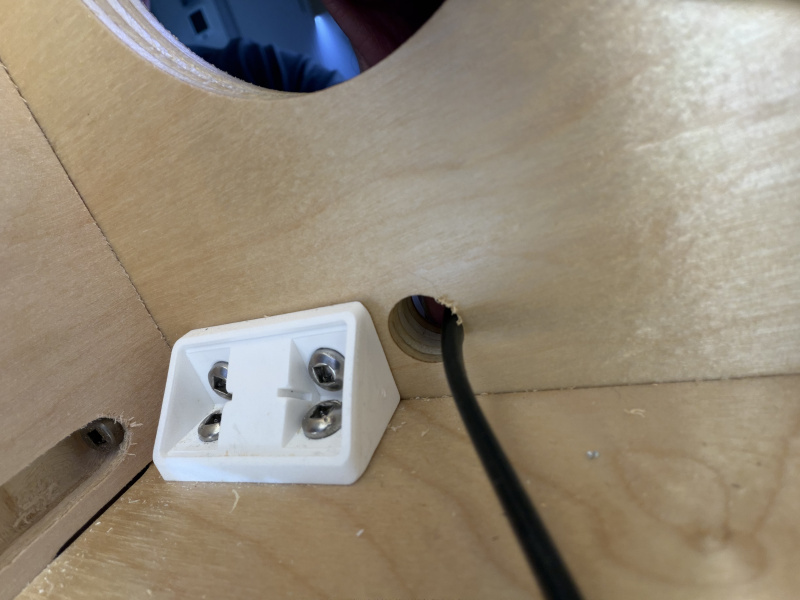
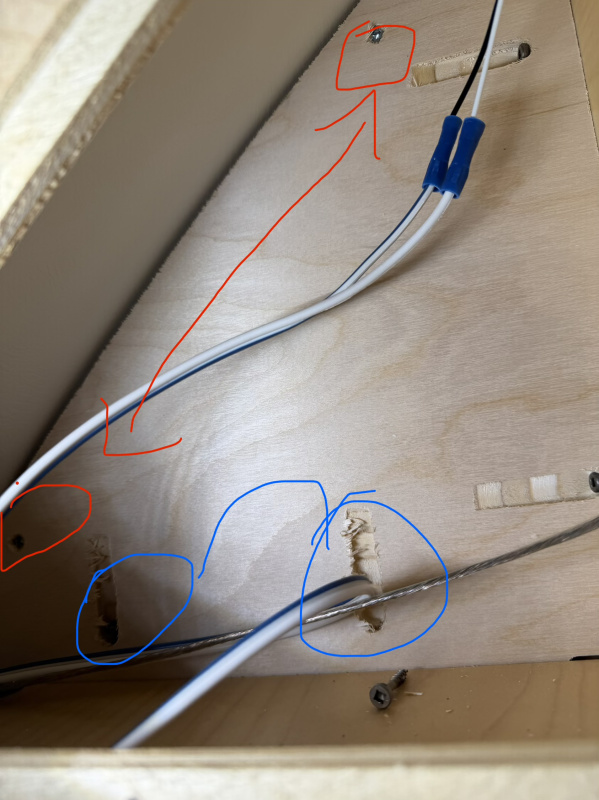
to free the speaker boxes from the sides of the trailer, the red circles screws attach the speaker box to the wall of the trailer. The blue circled pocket screws attach the bottom shelf to the bottom of the speaker box…
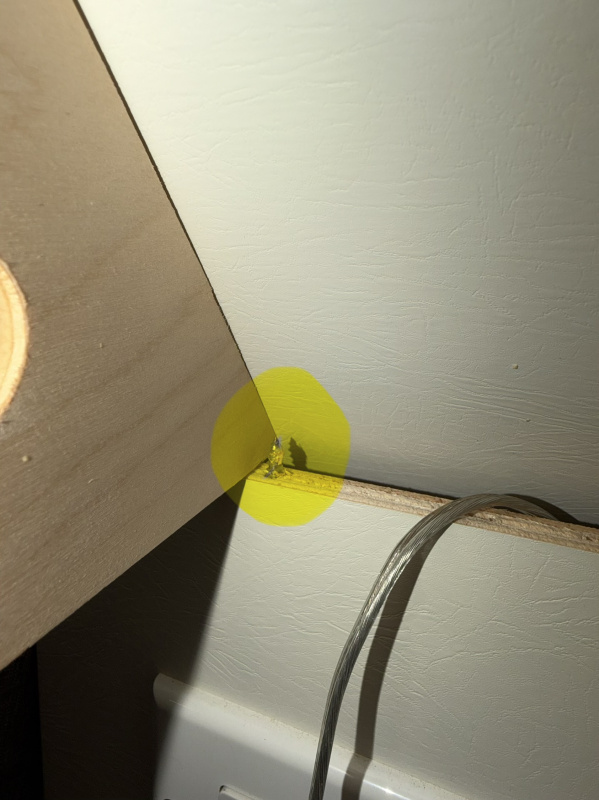
there is a screw coming up from under the electrical/USB outlets that holds the bottom shelf that @KaomRuns shows. Highlighted in yellow. I chose to use brute force instead and just pounded it with my fist leaving a blood trail lol
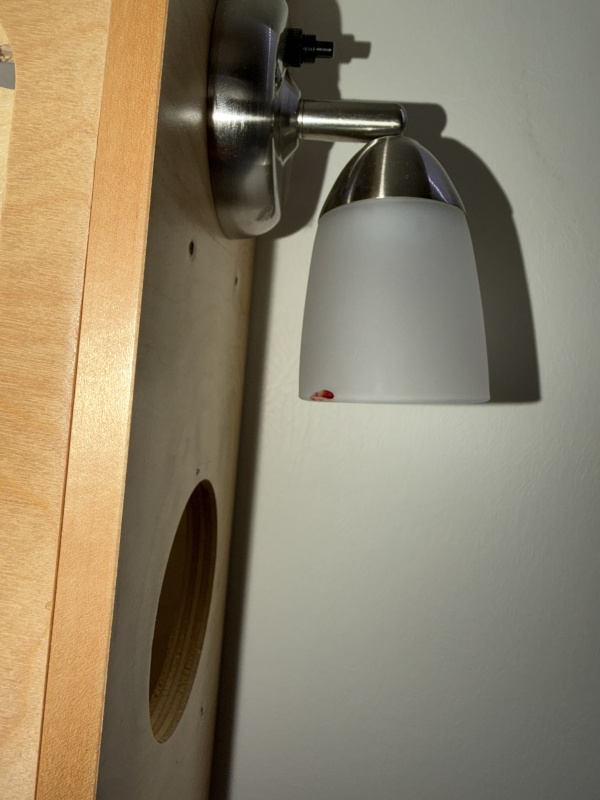
I relocated the wire strap to the “outside” wall of the speaker box, bundled up all the wires and zip tied them to that strap so the wires didn’t hang below the bottom of the speaker box…
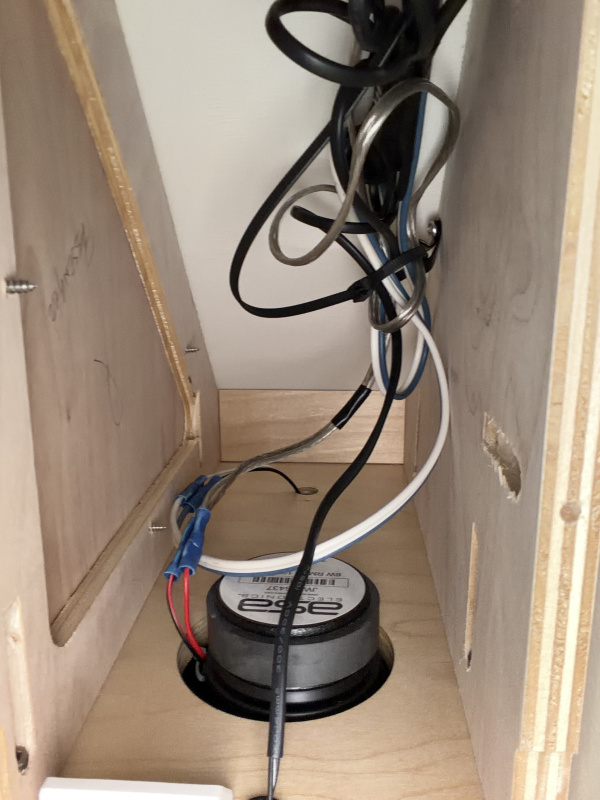
I may or may not fabricate a bottom piece for the speaker box. If I do, I’ll just use some thin (1/4”) birch plywood or even balsa wood and just glue it on…
I do know this tool than my son gave me for Christmas was invaluable for getting into the tight spaces…
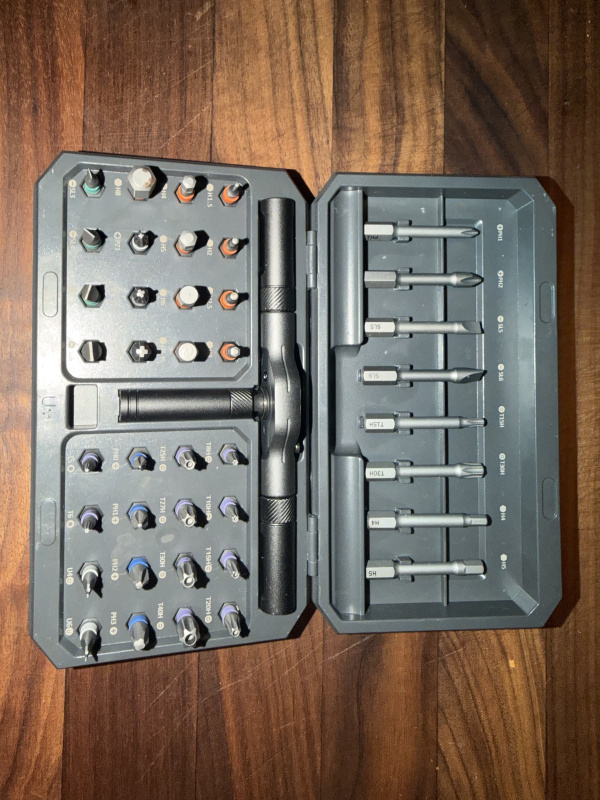
Finally.,, before and after …
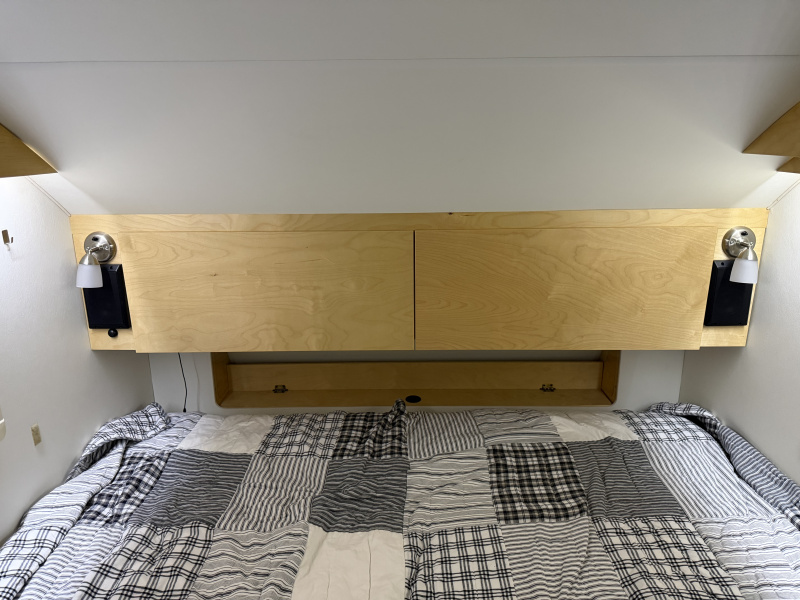
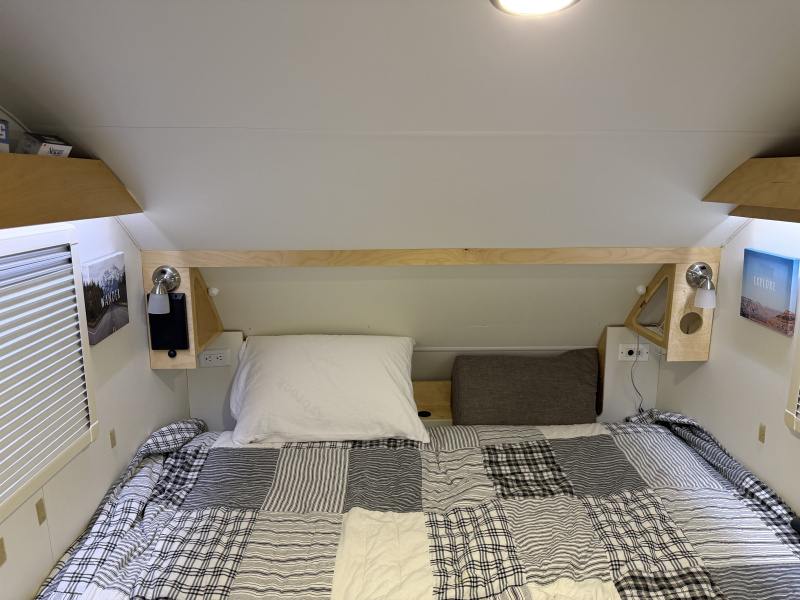
2021 Tab 320 Boondock Edition ("Big Tex") Toyota 4runner
1 -
@ClayC Very nice! I'm glad everything worked out for you!
I had sent THIS to Clay via PM. It is a cleaner outline than the original post.
2025 T@B 320 S Boondock Black Canyon - “Another T@Bventure”
2024 Jeep Grand Cherokee Overland
0

Categories
- All Categories
- 12 Cirrus Truck Campers
- 128 Dutchman and Vintage TaB Archives
- 3 Forum Rules
- 3 nüCamp & Forum Contacts
- 969 Air Conditioning & Refrigeration
- 2.7K Battery/Electrical & Solar
- 1.2K Camping & Travel
- 145 Events & News
- 220 Factory Comments
- 28 "FOR SALE" - New/Used Trailers
- 16 “FOR SALE" - Camping & Trailer Gear
- 2.4K Heating/Plumbing & Winterizing
- 138 Help - Computer & System
- 925 Introductions
- 408 Looking to purchase a trailer?
- 2.2K Modifications & Upgrades
- 1.4K Products and Accessories
- 425 Service/Maintenance & Recall Notices
- 37 Solo Travelers Hints & Tips
- 1 T@G Forum
- 78 Teardrop Groups & Links
- 78 Testimonials
- 922 Tips & Tricks
- 1.5K Trailer & Towing
- 27 Owners Manuals/PDF Files/Videos & Resources
- 56 üCamp Rally - News & Information