Starlink 12v modification

elbolillo
Member Posts: 567
Before our winter trip, I installed the Xtar-Link EL3 kit for DC conversion to power our Starlink directly via DC instead of having to run the inverter.
I definitely saw a 25-30% power savings. I installed the conversion kit on the backside of the divider in the storage area. (I drilled a hole in the divider to allow for switching the Xtar-Link on and off.) I also wired an ethernet port into the Nautilus compartment to allow for easily connecting the Starlink Dish.


I definitely saw a 25-30% power savings. I installed the conversion kit on the backside of the divider in the storage area. (I drilled a hole in the divider to allow for switching the Xtar-Link on and off.) I also wired an ethernet port into the Nautilus compartment to allow for easily connecting the Starlink Dish.
_____________________________________________________
Ken / 2023 Tab 400 “La Bolita” (39,000+ miles) / 2024 Toyota Sequoia
0
Comments
-
@elbolillo; {{{ StarLink dummy here, am considering as a future trailer enhancement }}}
Please clarify which StarLink system you have . . mini, standard, (?) . . .
Looking at the XStar-Link web-site it seems a mini-antenna model might only need a simple 12V Outlet to Starlink DC input cable.
Any chance you could create a basic/simple block or wiring diagram of your total StarLink installation?'18 320 S, pitched axle, 3020HE; PNW basedTV: '17 Colorado V6 Z71 4x4, Tow Package, GM Brake Controller
TV: '25 Canyon AT4
Adventures: 58 Nights: 405 Towing Miles 50,1800 -
@MuttonChops
I have the Gen2 standard actuated.
For the mini you would just need the DC cable to connect to the battery.
With the supplied cable I simply connected the negative and positive wires to my corresponding bus bars.
i will see if I can get a photo of the install location tomorrow and put together a quick diagram.
_____________________________________________________
Ken / 2023 Tab 400 “La Bolita” (39,000+ miles) / 2024 Toyota Sequoia2 -
Note that on the Mini, the DC cable is shorter than the AC plug cable that comes with the Mini. For 12V operation you need to buy the car adapter kit that is a cigarette power adapter and shorter cable. The concern is voltage drop to the Mini.Rich2019 T@b 400
2025 Toyota Highlander 2.4L TurboBellingham WA1 -
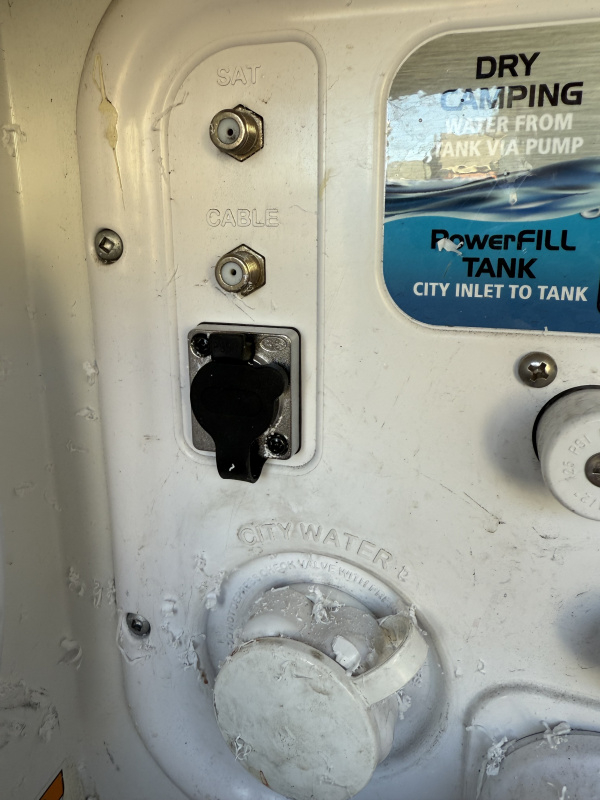
Here is a photo of where I installed the XTar-Link.

12v power port and ethernet port are on the left. 12v and ethernet cables goes to the router. On the right is the DC input and the POE ethernet port. The DC cables run to the positive and negative bus bars. The ethernet cable is run under the bed over to the Nautilus cubby to an external ethernet port.
The power switch for the XTar is on the right of the unit. I drilled a hole at the right to allow turning the XTar on and off through the storage area so that I don't have to lift up the mattress and trolli.
_____________________________________________________
Ken / 2023 Tab 400 “La Bolita” (39,000+ miles) / 2024 Toyota Sequoia0

Categories
- All Categories
- 10 Cirrus Truck Campers
- 122 Dutchman and Vintage TaB Archives
- 3 Forum Rules
- 3 nüCamp & Forum Contacts
- 958 Air Conditioning & Refrigeration
- 2.6K Battery/Electrical & Solar
- 1.2K Camping & Travel
- 143 Events & News
- 219 Factory Comments
- 19 "FOR SALE" - New/Used Trailers
- 12 “FOR SALE" - Camping & Trailer Gear
- 2.4K Heating/Plumbing & Winterizing
- 141 Help - Computer & System
- 922 Introductions
- 408 Looking to purchase a trailer?
- 2.1K Modifications & Upgrades
- 1.4K Products and Accessories
- 411 Service/Maintenance & Recall Notices
- 37 Solo Travelers Hints & Tips
- 1 T@G Forum
- 75 Teardrop Groups & Links
- 78 Testimonials
- 918 Tips & Tricks
- 1.5K Trailer & Towing
- 27 Owners Manuals/PDF Files/Videos & Resources
- 55 üCamp Rally - News & Information