Best Of
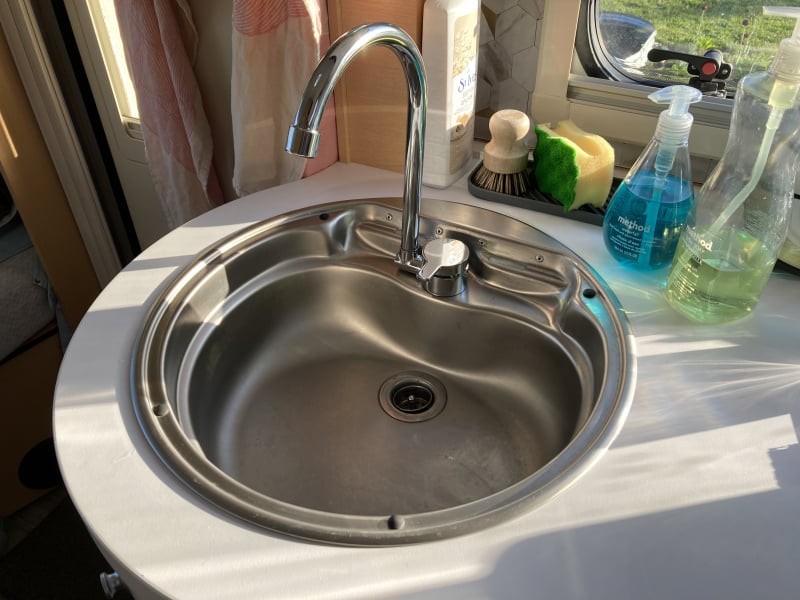
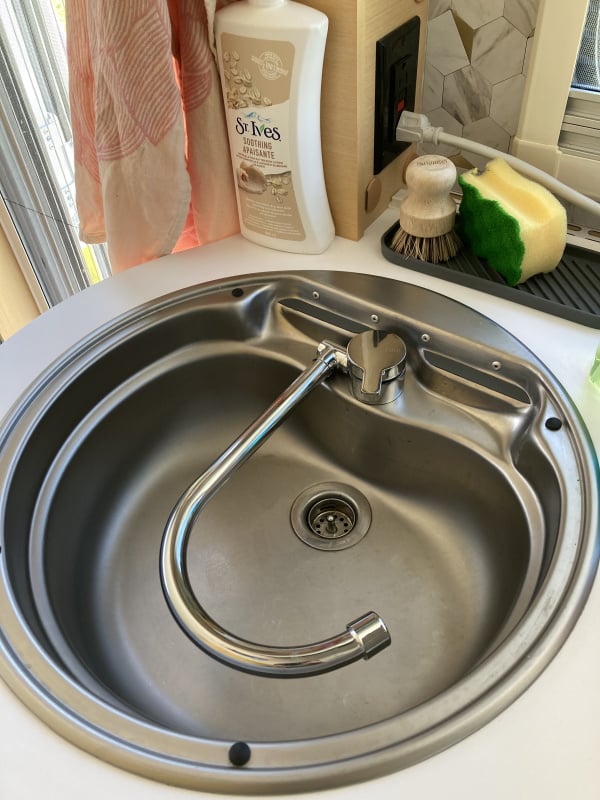
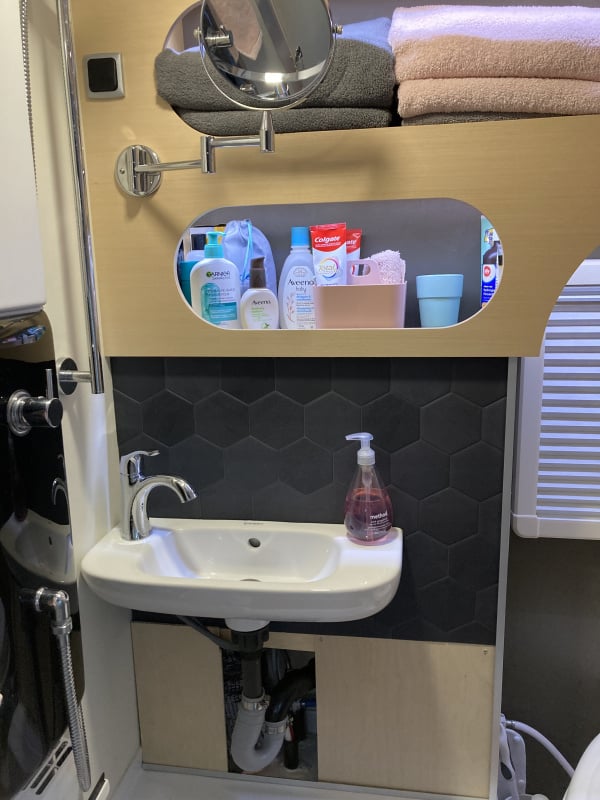
Re: 2020, 400 bathroom mod

Re: 2020, 400 bathroom mod


Re: Jensen JWM22 Performance
@Horigan. Personally I’ve never used the HDMI output from the Jensen over to the TV. I’d think the only reason you’d use that HDMI output would be if you’re playing a DVD. If I want to play a video I simply use my phone (or IPad) connected to the TV via an adapter into the TV HDMI input. I won’t be looking for CD/DVD capability in my Jensen replacement. There are aftermarket units that do have that CD/DVD if that’s what you want.
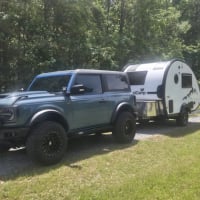
Re: Dispersed camping Grand Teton w Tab400BD
There are literally thousands of acres if you also consider the Idaho side. Roads in and out of some of these areas can be pretty sketchy and especially for towing. Some of the areas have been invaded by squatters. They have hauled quite massive trailers up seemingly impassible roads and parked them there as more or less permanent structures. Out of site regional housing costs have pushed people working in the area to illegally occupy public lands.
If you don't have time to scout the roads and areas where you plan to camp, I would suggest sticking to accepted camping areas. I don't think you will have problems leaving your rig and camp set up as much as you might finding a place to access that does not involve 4 wheeling. Be aware that many BLM and Forest Service roads become nearly impassible when there is heavy rain. Also be aware that a good deal of the land is stocked with cattle.
Re: Check Your Breakaway Brake Switches
You can buy the coiled cables separate if you do not need the switch. I bought the 2 pack and have one in the box for a spare.
Re: Check Your Breakaway Brake Switches
Yeah - I did an involuntary test too, by having wound up too much of the slack in the cable. Stupid but a lesson learned.
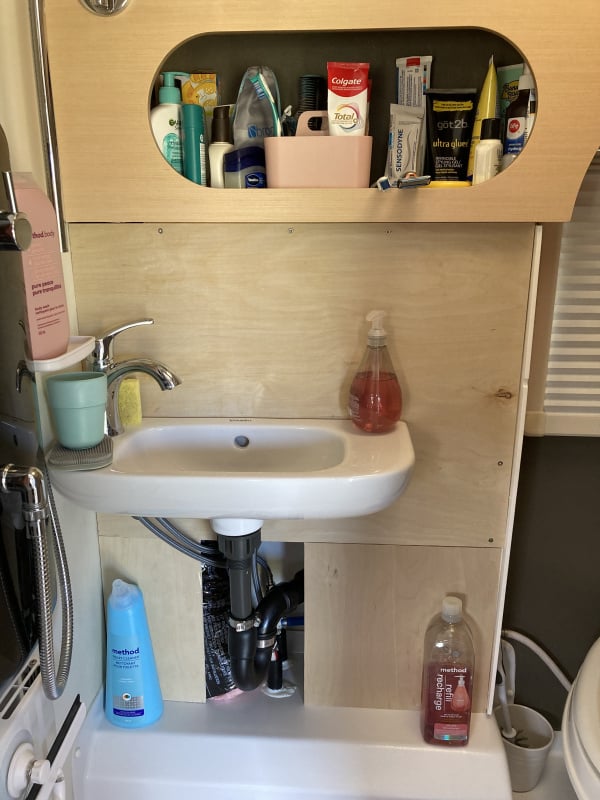
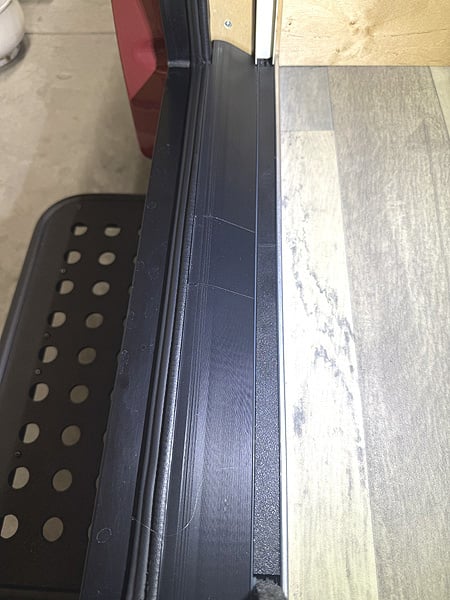
'23 T@B320 Door Jamb Cover/Insert
3D printed these cover/inserts. We found this area awkward to walk across and keep clean. Less so now.

Re: Replacing "Board" on Alde 3010
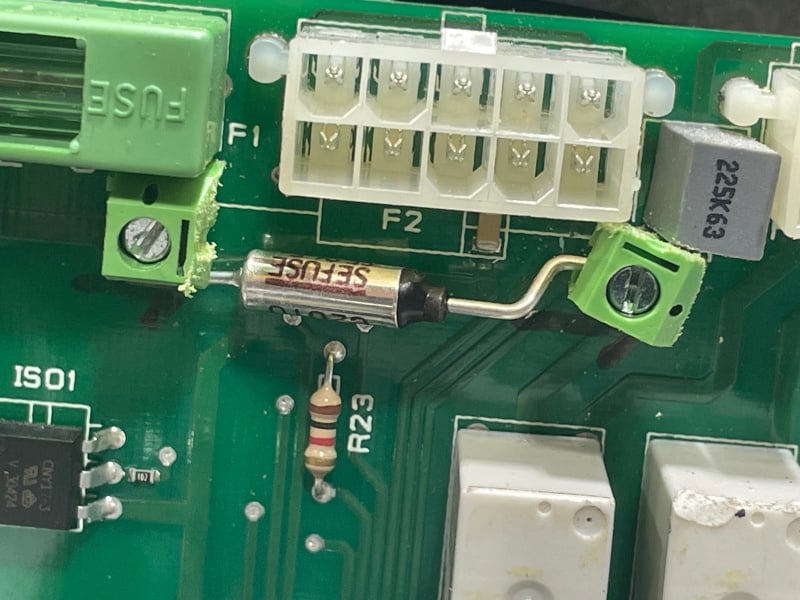
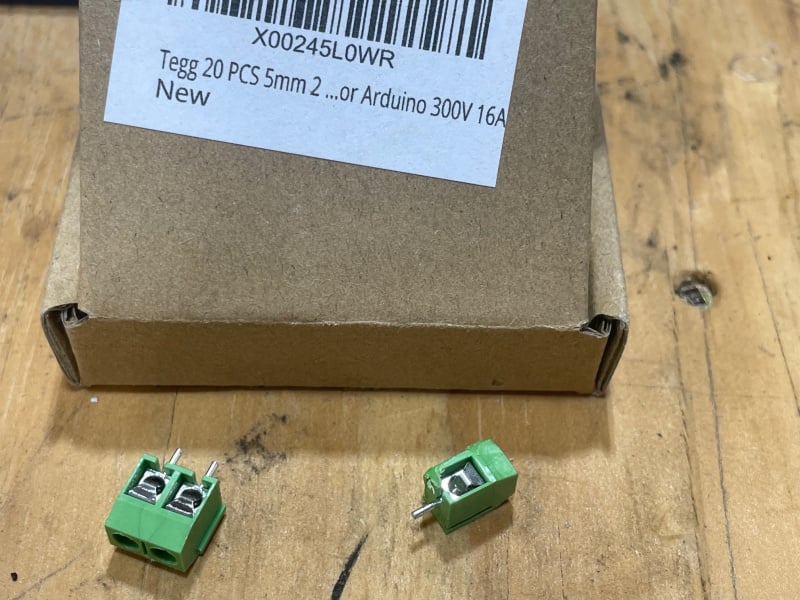
Below is what I ended up doing. It was a one time solder to install the terminals, but once done, future replacements will be solder free. For anyone attempting this you will need a good soldering iron, good electronics solder, and a "solder sucker" for disassembly. Some of the things used were based on what I could find conveniently (amazon) knowing I had the tools and skills to modify. The first 2 photo's show the new thermal fuse screw terminals installed. The 3rd photo show the components used, and the last photo is what I found most frustrating about the whole project…In The steps were to remove the PCP, unsolder the bad thermal fuse and use the solder sucker to remove remaining solder from the PCB. In photo 3 you will see the screw terminals I bought from Amazon. it was a 2 pole terminal block that I took to the benchtop sander and sanded off 1/2 of it to leave a single pole terminal. The photo shows as it came, the box label, and the modified unit. To mount the left side terminal, there was plenty of room and an easy drop in replacement. On the right side, I ended up extending the leg of of the terminal about 1/2" (by soldering a piece of wire to it) to allow a little wiggle room to reach the contact hole and avoid the adjacent components. Both left and right were through-hole soldered from the back side of the PCB. Please note that the left terminal faces down, and the right terminal faces inward. this allowed for a "Z" shape in the leads of the fuse legs to be "stretched" and placed into the position with a needle nose pliers, but primarily, on the right side, that is the orientation that fit best. it was a tight fit with the gray component directly above.
So a quick note, the worst part of the job for me was getting the PCB removed. Photo 4 shows a hex bolt on the far left side of the PCB. it is used to mechanically hold-down the PCB to the case and would assume ground contact as well. The original fastener was a recessed allen head screw that was an absolute pain to get out with standard hand tools. I could get one in there, but the handle had to be the absolute correct length, or you could only loosen a fraction of turn at a time. A quick trip to ACE, for a metric hex bolt matching length and thread, and threw that allen head away. Now with standard metric socket and extensions it is much easier…

Re: Replacing "Board" on Alde 3010
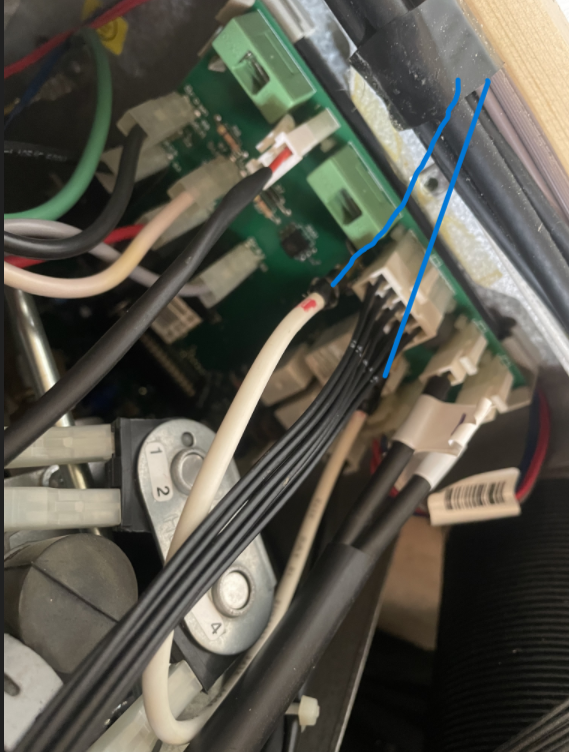
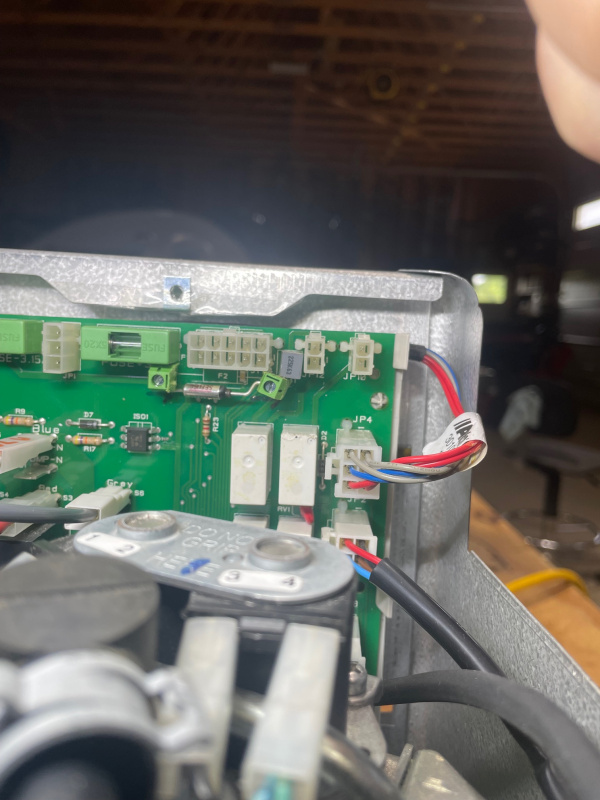
I just did a "Failed Circuit board" repair. It was the thermal fuse. The first thing is to confirm the (replaceable) fuses are good and then check the thermal fuse. do this by putting a temporary jumper from one side of the thermal fuse to the other. an Alligator clip jumper works great just so you can allow the 12v to get from one side of the fuse to the other. If you install the jumper and the unit fires up, you found your culprit. As this fuse is a safety device, remember jumpering is only a troubleshooting step, not a permanent solution. (in the below photo, The jumper is the white wire loop with the 2 light blue mark-up lines coming off it) To further my repair, I actually mounted Circuit board mount style screw terminals in the place where the old fuse was, and connected the thermal fuse to the screw terminals. I did this for 2 reasons. Soldering a thermal fuse is hard….the heat from the soldering iron can ruin the fuse, and like some had said, if I'm camping, not likely to have a soldering iron in my tool kit (I do carry the alligator jumper though) in the future, as others have stated, make sure the ALDE is not getting power hits as the camper is plugged in to the Tow Vehicle, Shore Power etc. The way I look at it is every time the 12v converter comes on line, it has the potential to send a surge to downstream components. I took the 12v line going to the ALDE and installed a 2 pole switch in the cabin. The ALDE is switched off until power is stable and I am ready to energize it.