


Snake River, WA
Walker Pit Habitat, ACE Free Dry Camp
Best Of
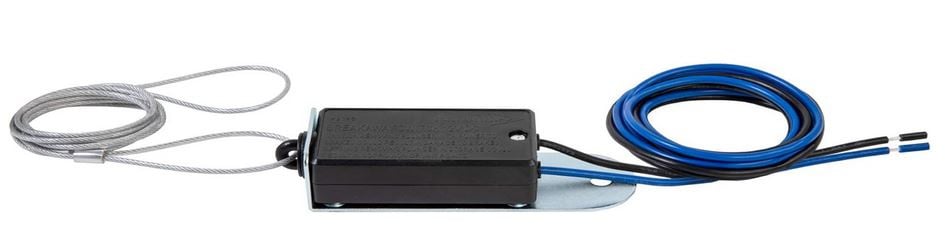
Check Your Breakaway Brake Switches
As part of your pre-season maintenance routine, I suggest checking the operation of your breakaway brake switch. This is easy to do, but also easy to overlook.
With the battery connected, pull the pin from the switch box. There should be a notable voltage drop, and the wheels should lock up.
When I tested mine this year, I got nada. Sometimes I could get it to engage by banging on the switch housing with a wrench. I'm guessing the internal contacts are corroded.
Replacement switches are easy to come by for as low as $10. The biggest challenge to installation would be splicing in the new switch wires.
Shoe storage mod
We are starting our 5th year with our 2021 Tab 400 and one of the things my wife hates is our method of storing our shoes. In the past, they simply were swept under the dining room table, or placed on the shelf just below the table (which would always come off after a move). We do a lot of activities (hiking, biking, kayaking, and simply lounging around the fire), so it requires a lot of different shoes. Some get placed in the tow vehicle, but not enough. So my wife came up with an idea to install a netting under the table to place the shoes in. I went one step further. This shoe rack is made of of netting and 1" and 2" nylon straps. It has space for four sets of shoes. The shelf behind the netting can also be used to store your hiking boots or larger sized footwear. I suppose you could use this idea for other things. If there is enough interest, I could probably try to come up with a drawing. I got most of the material from seattlefabrics.com.


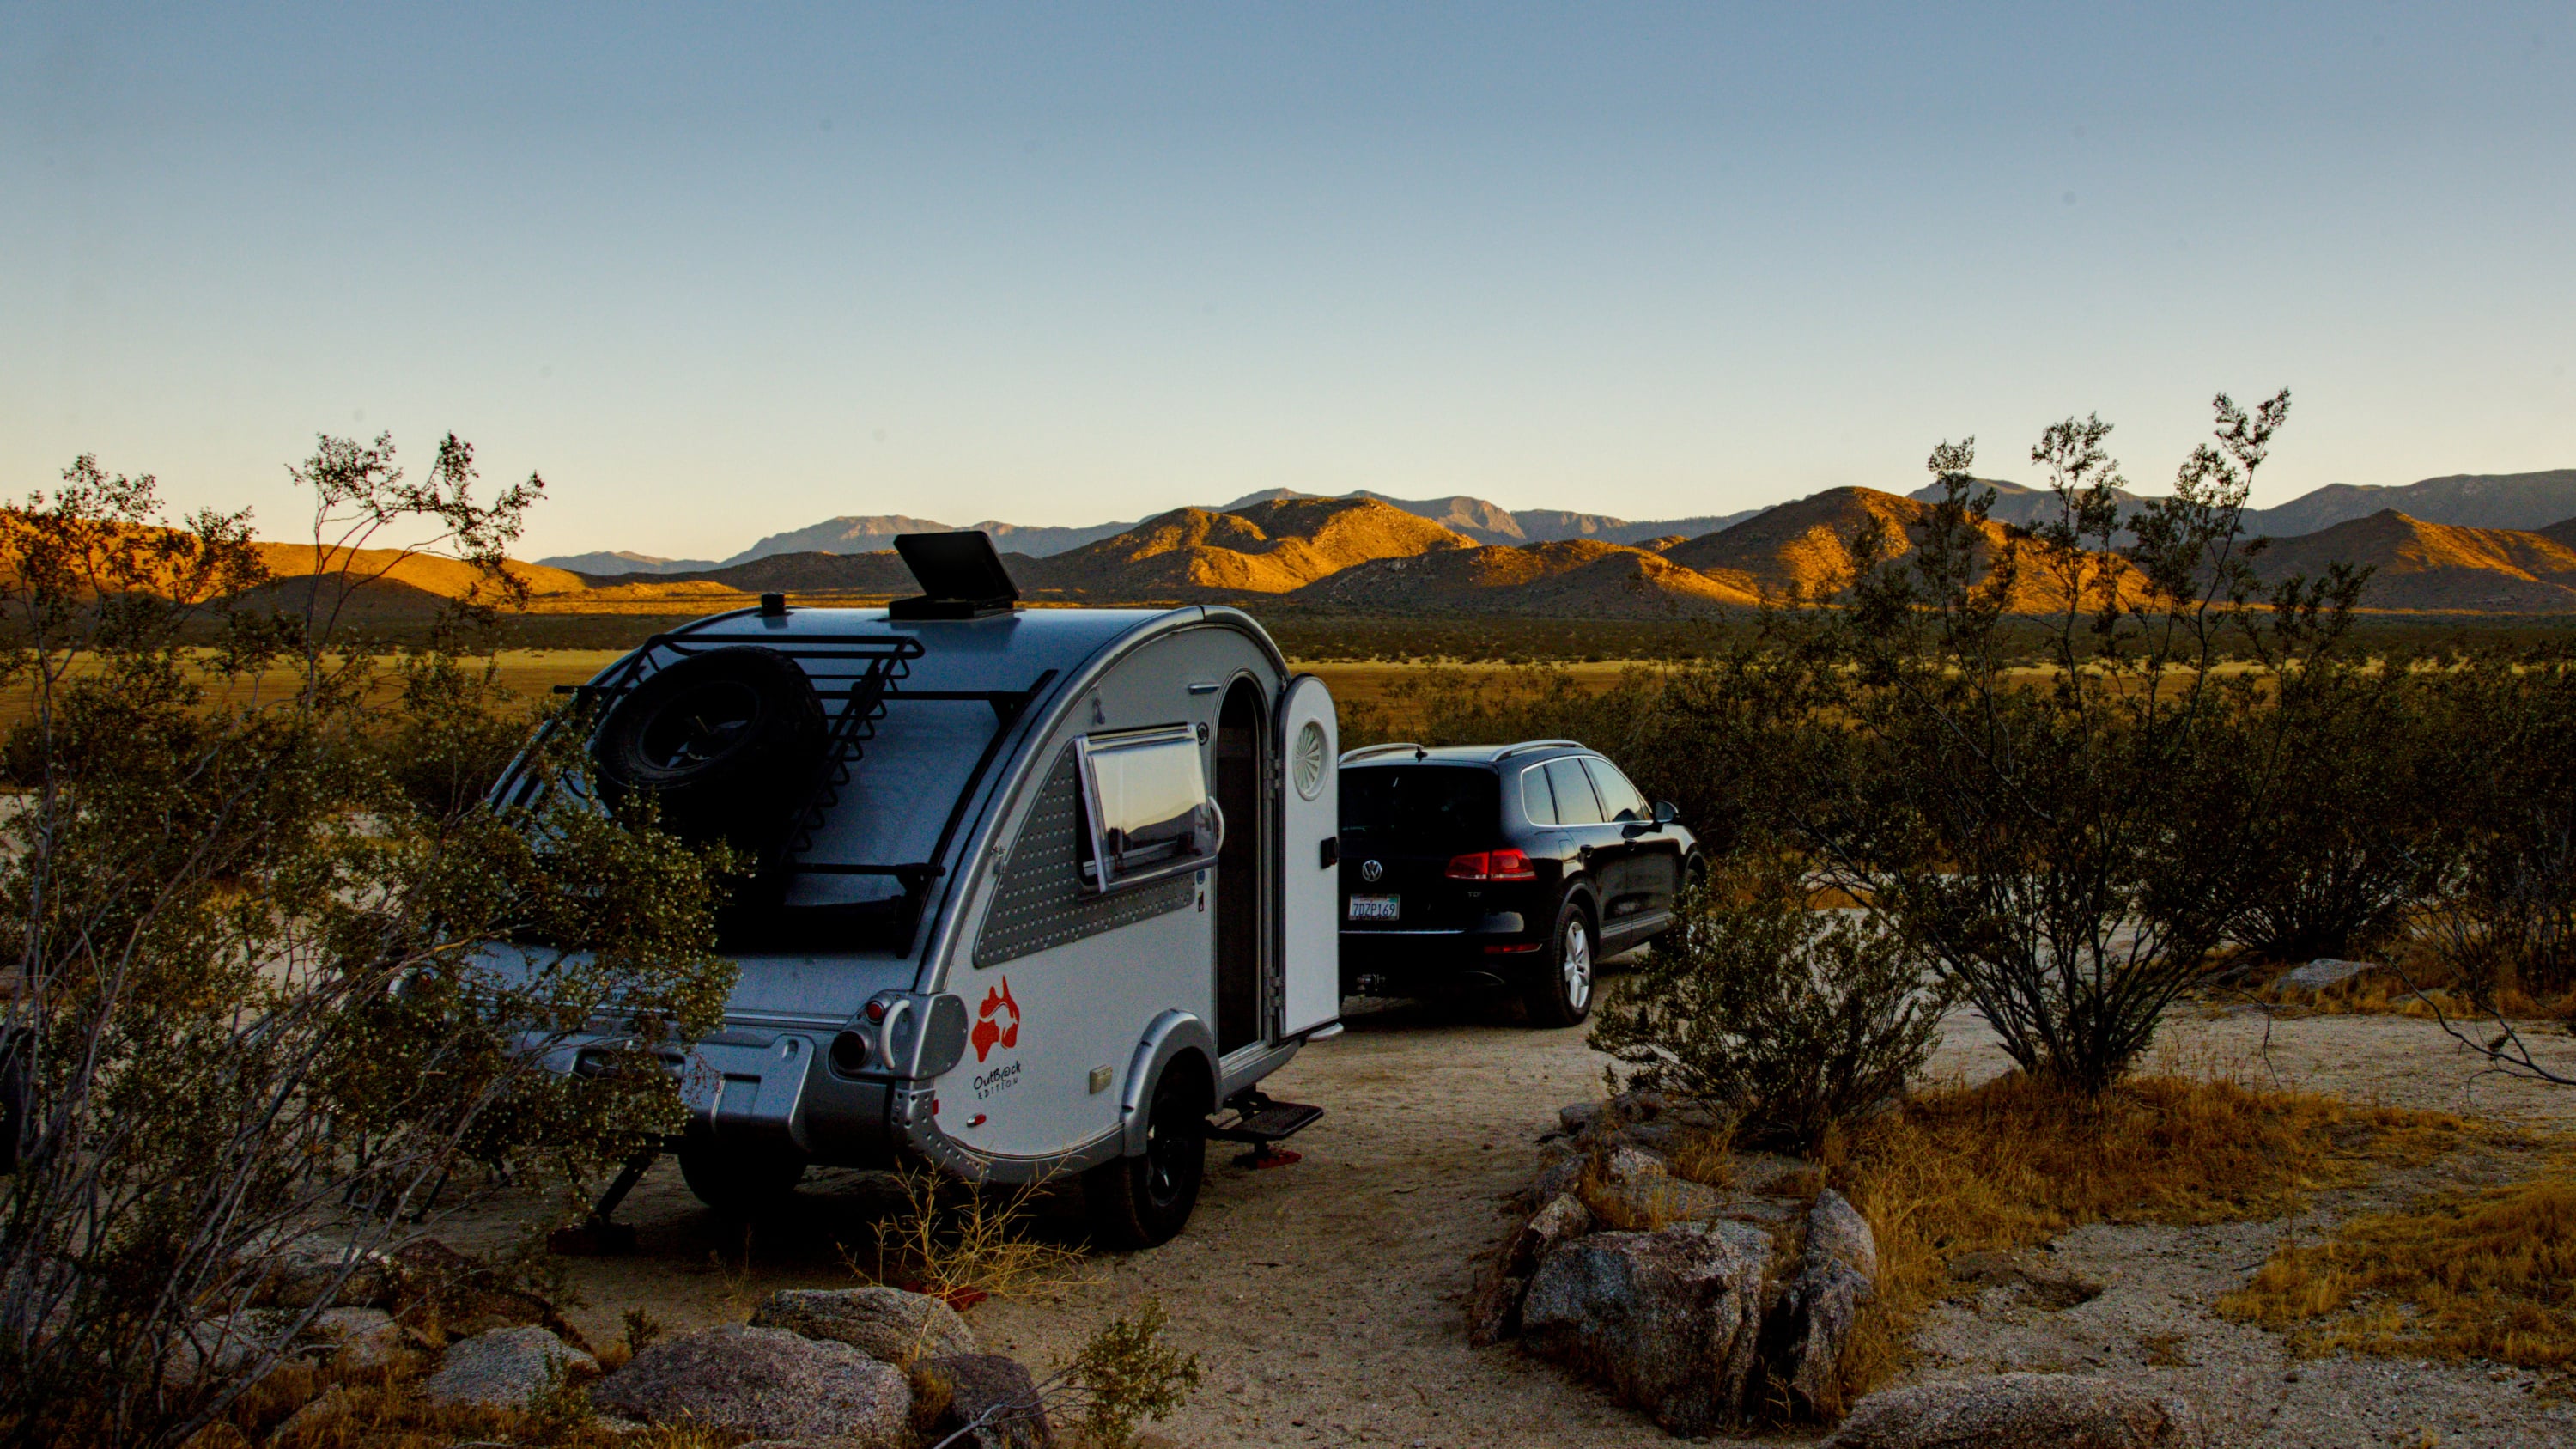
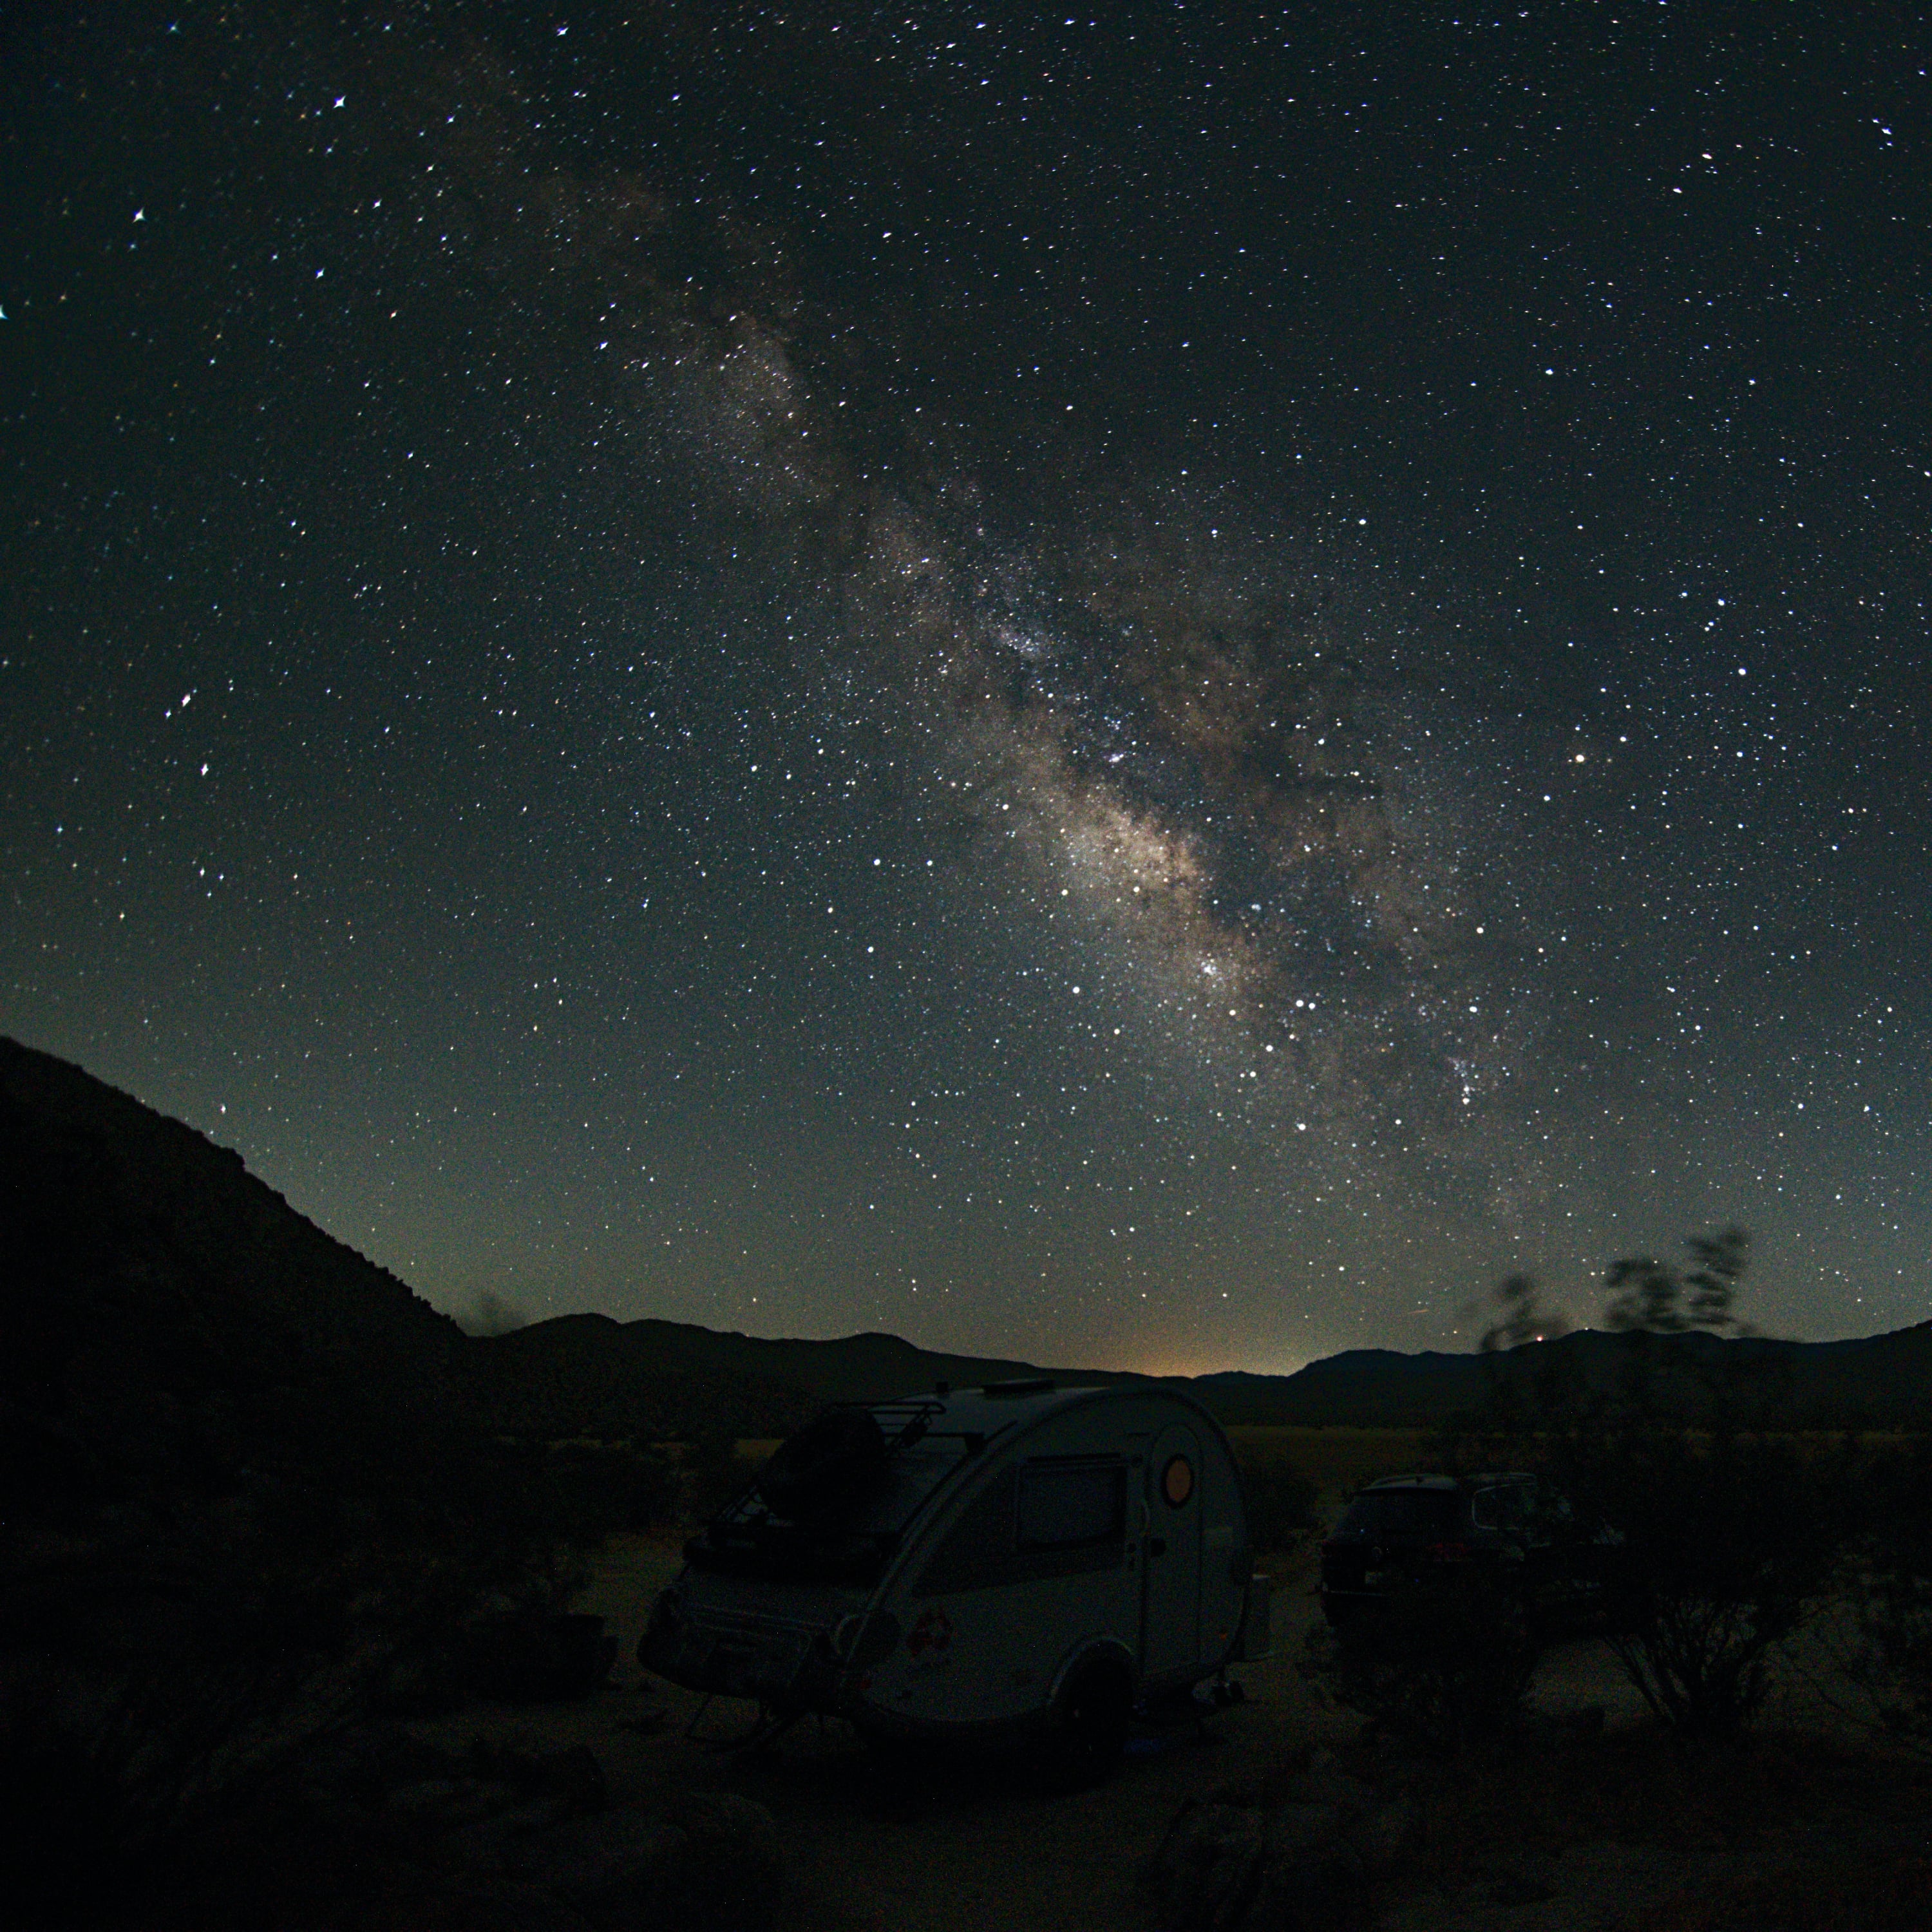
Re: Post up some shots of your T@B set-up at the camp site! #3
Out to Blair Valley Dispersed, part of the Anza-Borrego State Park in the valleys east of San Diego and Julian, CA. Nice wide open space. No moon, and the skies are surprisingly dark for being so close to the big cities all around. Plenty of stars, satellites, and Milky Way to spot.
I was there from Wednesday afternoon, and saw only one other camper out there until Friday afternoon.
Vehicle wrap before and after, 8 year old finish was deteriorating.
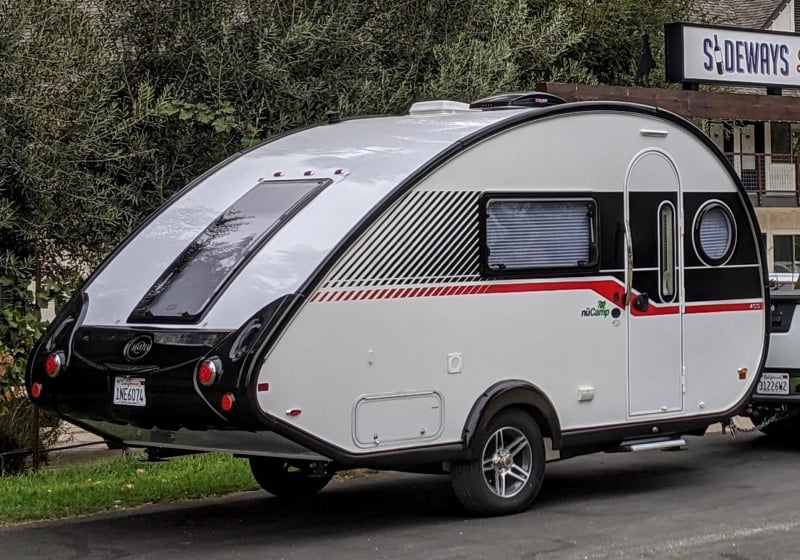
Even though I wash my 2019 T@B 400 (manufactured in 2018) several times a month and wax it often the fiberglass finish has deteriorated. I had it wrapped to both improve the finish and change the graphic design and color. In one photo of the rear quarter of T@B the contrast between the exposed finish and that which was covered by the factory decal of diagonal black stripes illustrates the damage. The shiny part was protected from the elements by the decal, The dull stripes are the spaces between the decals that were exposed to the elements. There was other damage done by the elements and heat too. Prepping the T@B for the wrap was a lot of work, at least for me. A heat gun, Goo Gone and plastic razors did the job on the decals as well as removal of all of the caulk. After the wrap was done I re-caulked. The wrap installer cautioned me about areas that were at risk of lifting and to caulk them to hold them in place. $2600, one day to wrap.


The Robertson Screw
Just came across this video and thought of the TaB forum, so I had to share.
You know those square headed screws used on the TaBs that Americans find so odd…here is a humorous, adult explanation by a very funny Canadian.
Enjoy!
Sharon
Enjoy!
Sharon
NEW FORMATTING FOR THE FORUM IS LIVE!
The T@B Forum format has been updated to the Foundation format, as required by our forum sponsor, Vanilla forums. Please message us if you experience any problems in posting, searching or notifications. We expect there will be few issues but would appreciate your feedback now that the change is live
Thanks for being a T@B forum member and contributing to the community!
qhumberd
Moderator
Thanks for being a T@B forum member and contributing to the community!
qhumberd
Moderator
Re: How do you handle your wet bathroom floor?
I took a chance with with a pack of RUNNEN wood patio flooring from IKEA. Snapped them together and traced the floor pattern. Cut it out and fortified a few of the smaller pieces. It is a prototype of sorts and I will see how it lasts. It fits well and the plastic grid underside keeps it off the base and is softer than the base, so it should not scratch. Looks and feels pretty good for $25 and some labor!
The wood is attached to a plastic lattice in two places each. For the smaller pieces I heated up a small nail and pushed it into the plastic mat and then drove it into the wood. Held the nail with needle nose pliers and put it in a torch flame for 1 or 2 seconds. That worked pretty well.
After verifying the fit I flipped the mat over and permanently bonded the squares together by ironing the joints with an old travel iron I used to use to wax my skis")


The wood is attached to a plastic lattice in two places each. For the smaller pieces I heated up a small nail and pushed it into the plastic mat and then drove it into the wood. Held the nail with needle nose pliers and put it in a torch flame for 1 or 2 seconds. That worked pretty well.
After verifying the fit I flipped the mat over and permanently bonded the squares together by ironing the joints with an old travel iron I used to use to wax my skis
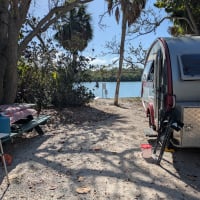
Winter Trip to Florida
Well I wanted to check out what the snowbird thing was all about so I took a couple weeks and headed south. Stayed at my first Harvest Hosts on the way down, then Manatee Springs SP, O'Leno SP, and then an entire week at Fort Desoto. It was a great time-did some fishing, took an airboard ride, met up with friends and family, and got out of the cold weather. I think I'm become a believer in the snowbird life!


Re: Post up some shots of your T@B set-up at the camp site! #3
Ok, I'll play. Quick shakedown run an hour from the house, along the Metolius River.
