Best Of
Re: Reinforced toilet flange
Can do!
A quick note however, I would imagine this fix is not manufacturer approved, and it also involves modifying purchased fittings. Thus, if the project gets sideways, you won't be able to return the parts to the store, and if you further damage the trailer in the process of repair, of course NuBrite likely won't cover it via warranty.
For me the project was a complete success, however it is understood that you do this at your own risk. I resisted sharing my procedure as I figured it was one of those things that might make some people cringe… lol. What can I say… I'm an old Appalachian hillbilly at heart. We have a knack for rigging just about anything. 😏
Now that the lawyerly stuff is out of the way… he's what I did: (photos are below)
I went to the Home Depot (the Bellingham Washington location had what I needed, though I imagine stock is similar in other stores… FYI, Lowes didn't have what I was looking for).
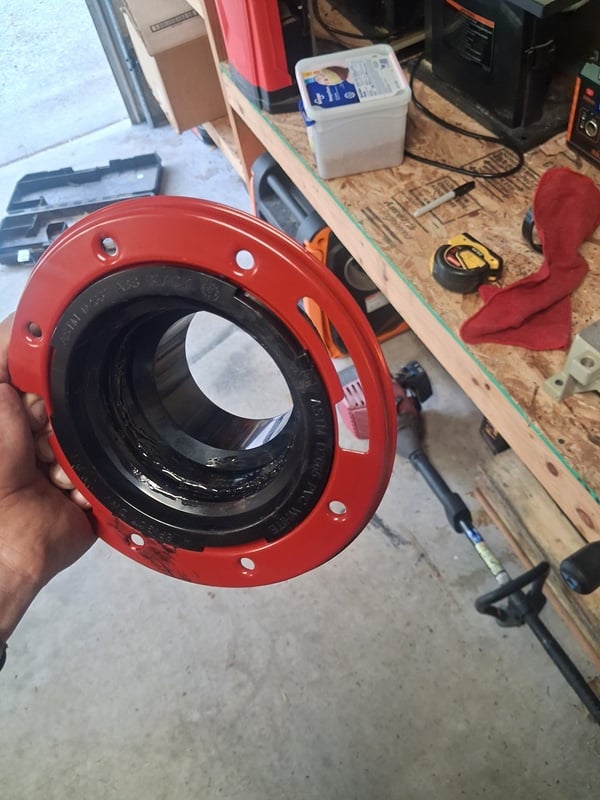
I purchased a red metal reinforced 4" toilet flange.
I also purchased a 3" threaded ABS adapter coupling.
Also a can of ABS cement. I already had teflon tape.
***
- Test fit the parts in the store before purchase. The threaded adapter should fit neatly into the female end of the toilet flange. NOTE: These parts are NOT made to be joined in this manner. They just so happened to fit just right. There was a SMALL amount of play in the fitting (about the thickness of a sheet of paper)** I'll cover what to do about this shortly.
- As it is, if you assemble the pieces as they are purchased you will find that the finished part is way too long. You will need to take careful measurements and cut the female part of the flange as well as the threaded fitting (where they glue together). I found it to be about half of the length glued male/female parts on both pieces. Measure several times and endeavor to leave as much surface as possible for the best possible weld. I cut the threaded coupler with an electric chop (miter) saw. I cut the flange by carefully clamping the metal flange part in a vice and carefully cutting the pipe part with a sawsall.
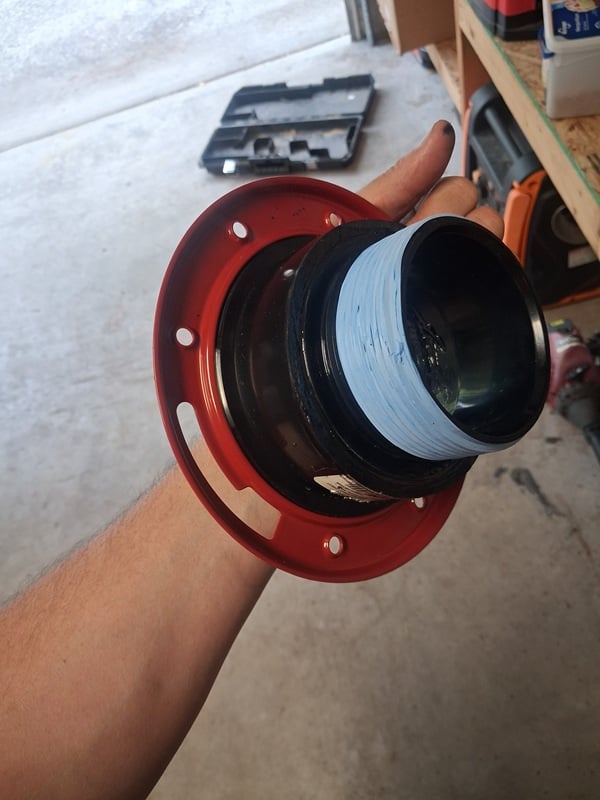
- Prior to gluing the pieces together, you may want to test fit it in the RV itself. Once you're satisfied of the fit, glue the two pieces together. Use a VERY liberal amount of glue. (this will help bind the two pieces together better.) I let my fitting sit for a few days prior to installing it.
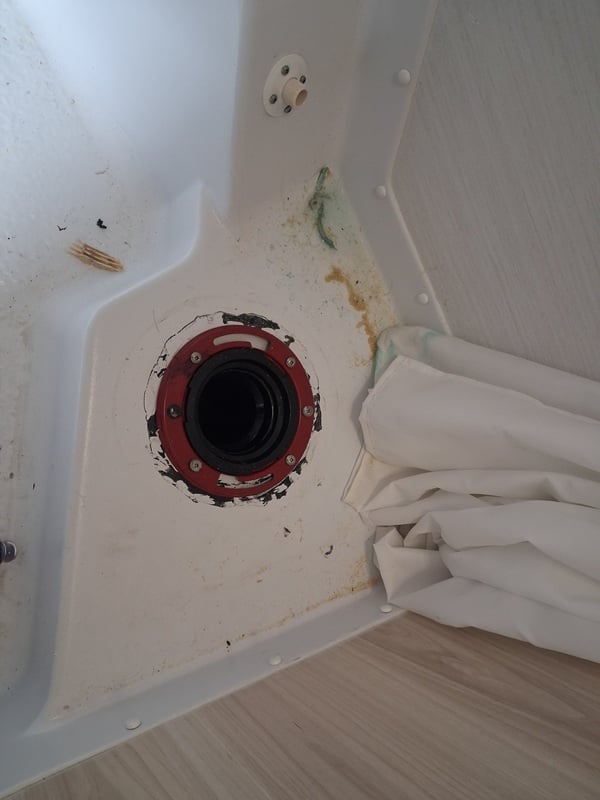
- Back in the camper, the hole in the plywood base was slightly off center to the threaded opening in the black tank. A small jig saw was employed to saw out the excess to make a proper hole to accommodate the new fitting.
- Apply Teflon tape to the threads, I found that I had to thread the fitting very far down into the tank, the threads were generally easy, however I put most of my Teflon towards the back part of the threads to help get it down further.
- Now the tricky (unexpected part). Because the red metal ring spins freely on the flange, it has the advantage of being able to be adjusted for the desired alignment of the toilet flange, however the disadvantage of not having a practical means of grabbing this thing with a tool to help thread it into the black tank tightly. Whereas a punch or something similar might have been used to help thread in a solid flange piece, this wasn't an option with a moveable ring. The solution turned out to be a pair of good work gloves and as tight of a grip as you can muster, with your hand down in the hole, turning it in with all your might. Once the red ring is seated to the base you're almost done.
- Line up the six screw holes and fasten the flange in the same manner as the old one.
- Apply silicone as desired, install the rubber sealant for the toilet, and mount the toilet on the flange.
- NOTE: The right side of the toilet (where the flusher pedal is at) I found to be very difficult to start the nut. You literally can't see it, and have to "see with your fingers". Patience is a requirement.
- Since this is a wet bath, I applied a bead of silicone around the base of the toilet to help keep any stray water out from under the unit.
And there you have it… this was probably not a project for a beginner. It required some creative thinking as the project progressed, and was met with various challenges. I doubt you'd ever get a professional to do this… this is strictly DIY. But when we sit on the toilet now, it feels VERY solid and doesn't budge a lick. I've been banging around old houses for 30 years and work as commercial service technician by trade, so I'm somewhat accustomed to "making things work".
Is it overkill? Probably. But I estimate the work should last the lifetime of the trailer.

Re: should a Tab 360 have a refrigerator fan
Well in general we are very happy with the performance. Others feel it's too big and takes up counter space but we love not having to deal with ice, the fact that you can bring what you want including frozen food, and reach inside for a truly cold beer or a scoop of ice cream. Luxury camping. Our biggest issues have been related to airflow inside the unit when we overfill it. I've played with the small air vents underneath the cooling coils to find the right airflow and we are thoughtful about where we place items at the top so the opening doesn't get blocked. Obviously that closed drawer at the bottom is going to be the warmest spot but our Target temperature is 40 and we don't have a problem achieving that at setting two or three for the most part. I will say we are not hot weather campers, and we don't live in the desert. The biggest performance issue we've had is one time after 10 days in a humid environment we did get ice buildup on the coils. When we got to shore power I did a quick defrost. I think that's going to happen with any non frost-free refrigerator. So what is your non fan solution?

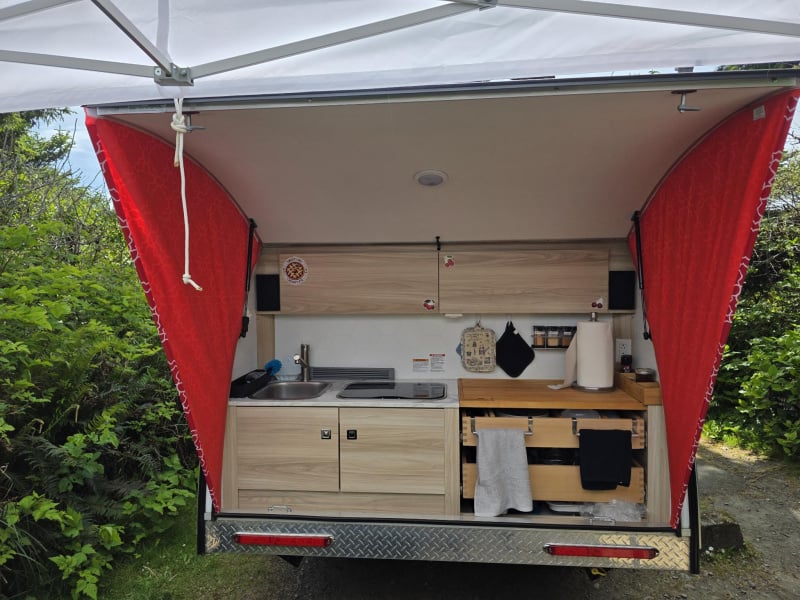
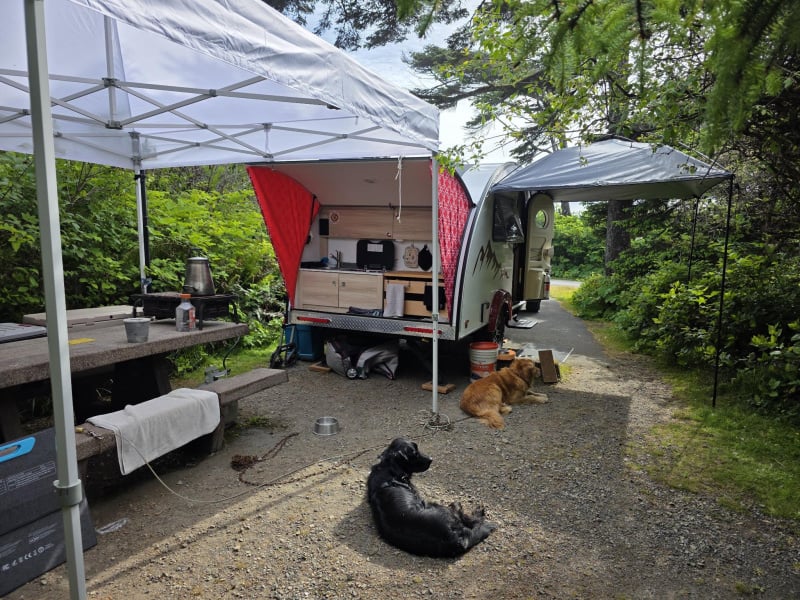
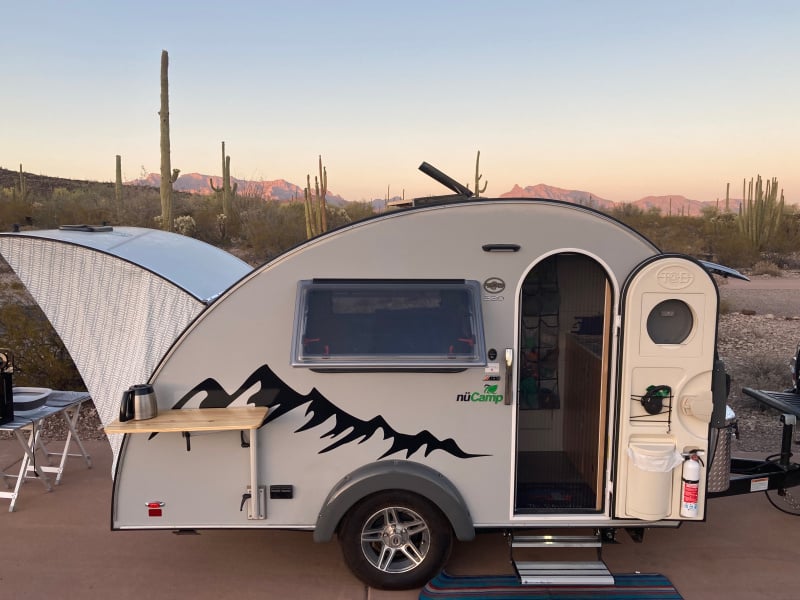
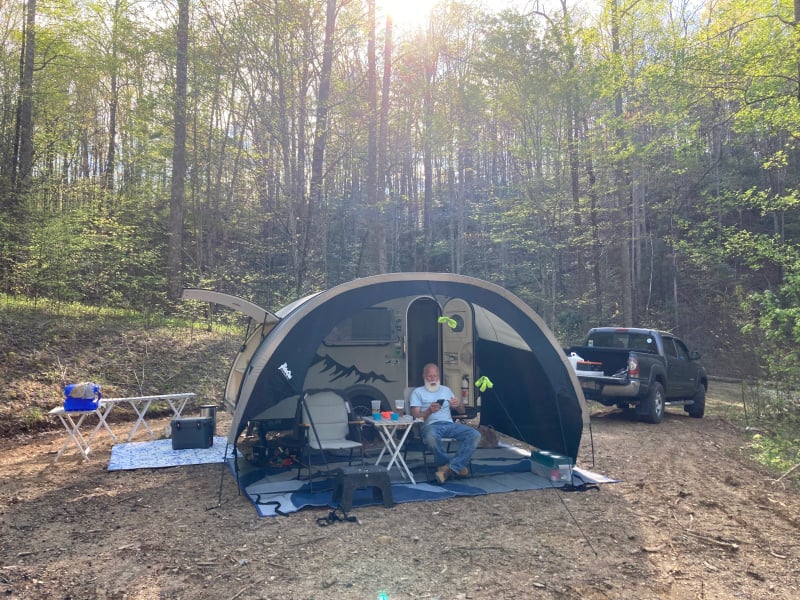
First trip in TAB320 SC-S BD
My first posting however, I have learned so much from this blog. Bought the trailer last October and had all winter to add personal touches and modifications. Thanks for all of the ideas. Named her "Cherry Pie". Photos from Kalaloch Campground in Olympic National Park.
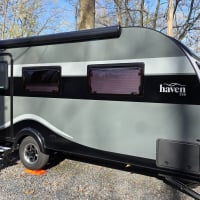
Haven 220 awning manuals
Our Haven did not come with any documentation for the carefree awning; and nucamp has been unresponsive to my requests for such (uncharacteristic for them). Also, the dealer said there was not a wind sensor to auto retract the awning (spoiler: there is). So after some research I was able to find the model and manuals and get the thing working as it should.
* SOLD * 2022 T@B 320 CS-S for sale $18,500
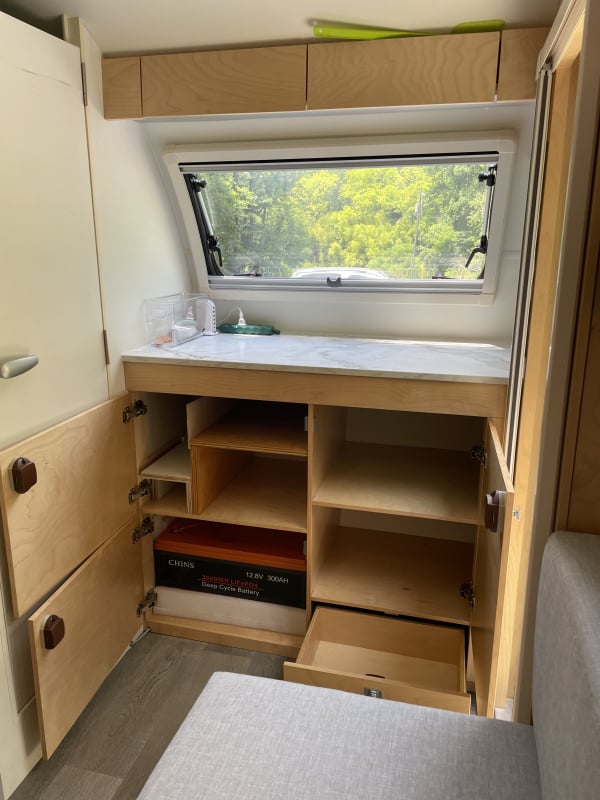

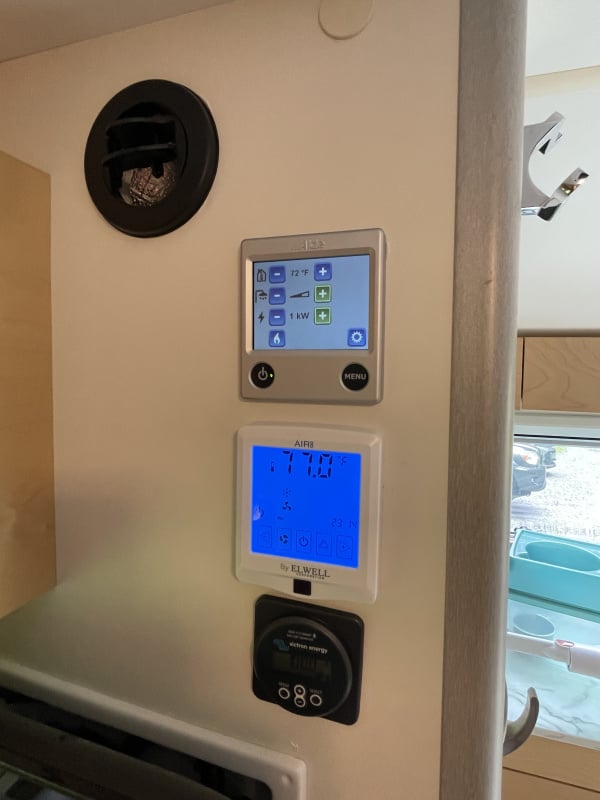

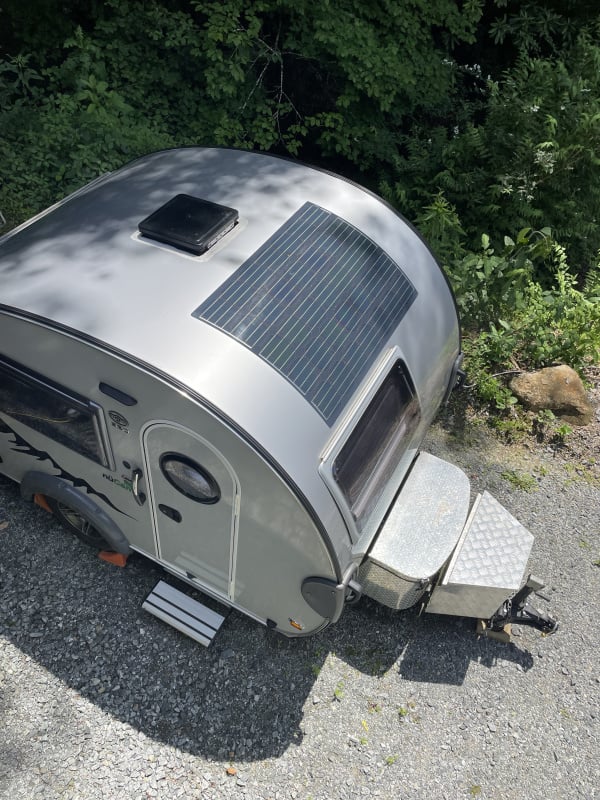
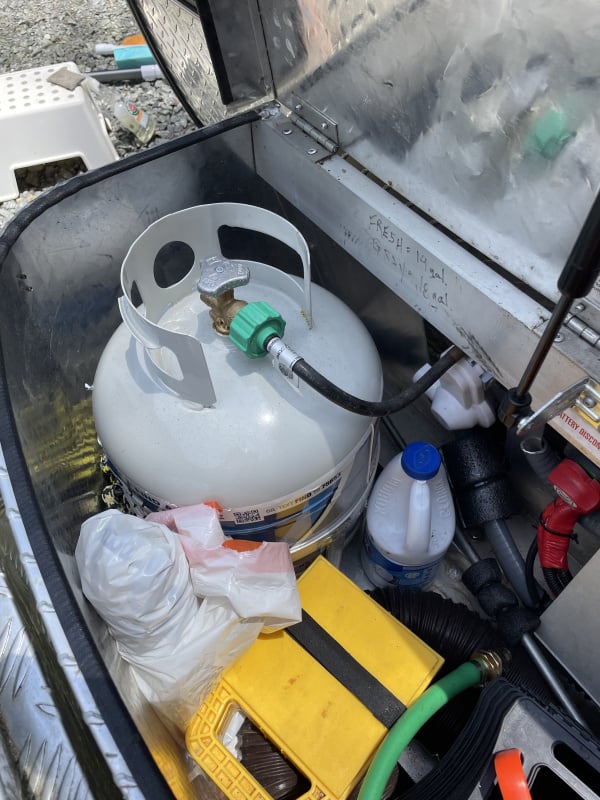
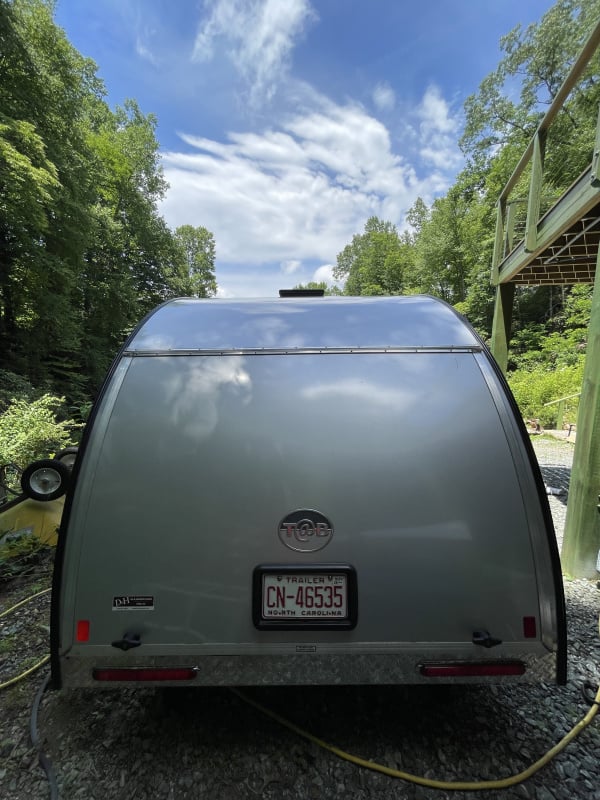
- SOLD * Original owners. Meticulously maintained. Many upgrades, including 300amp LiON battery with Victron shunt/monitor, residential plumbing fixtures, dimmable LED lighting, lux foam replacement, table replacement, fan replacement (including rain sensor), second exterior storage tub, gray water diverter, PahaQue heavy duty cover, and large keder rail PahaQue Awning. Great tires and brakes. Serious inquiries only please, not interested in trades. Near Asheville, NC.
Dave: 119dillard@gmail.com

Re: DC-DC Charger Settings for New Lithium Battery - Please Help!
That's a weird table. Not done by an engineer… :)
Switch 5 off and switches 1-4 on sets it to 14.6V which is right on target for the battery.


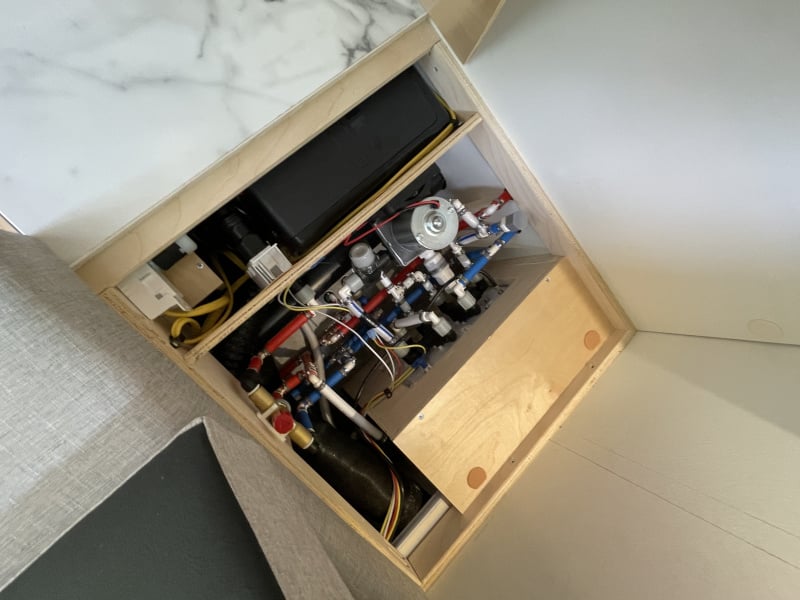
Re: Adding 12v Connection for Starlink Mini: which side of trailer? (need opinions)
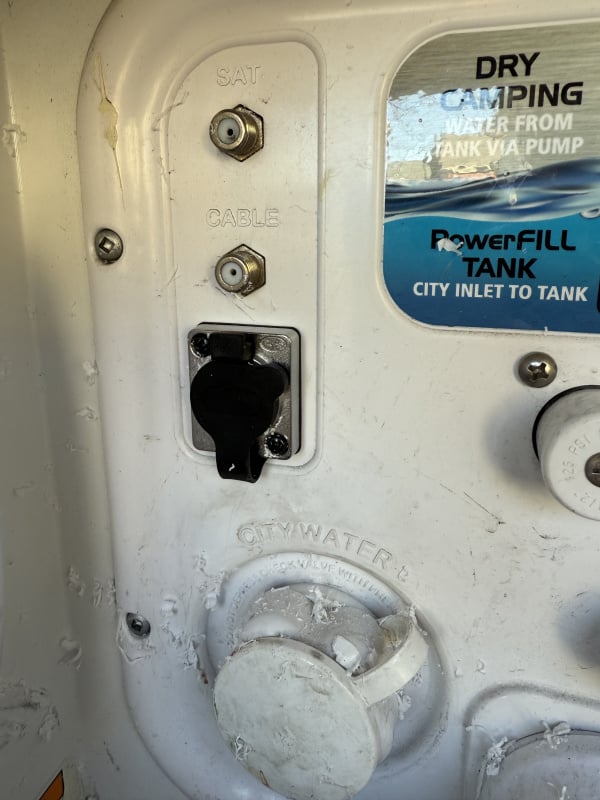
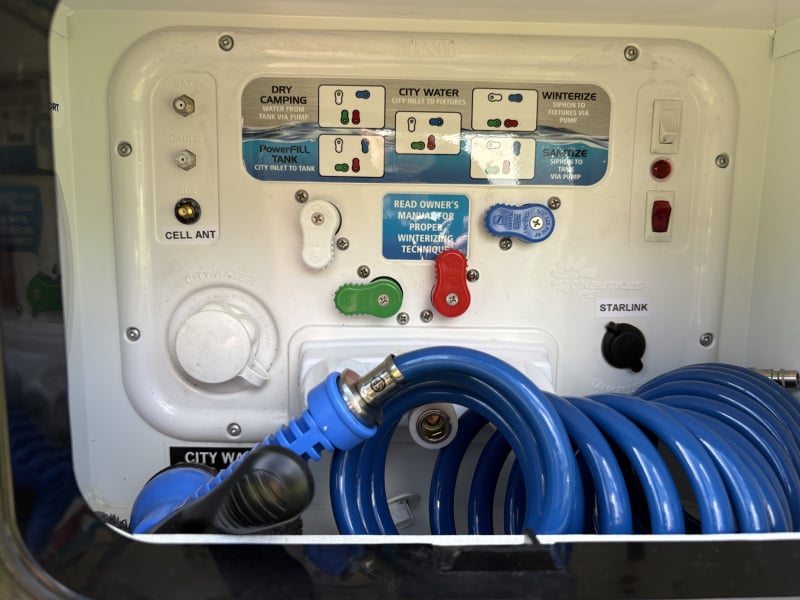
I used the nautilus hatch for my Starlink connection. I installed a 12v converter in order to power my articulating Starlink.
Re: Adding 12v Connection for Starlink Mini: which side of trailer? (need opinions)
So, I finally got around to working on this project….
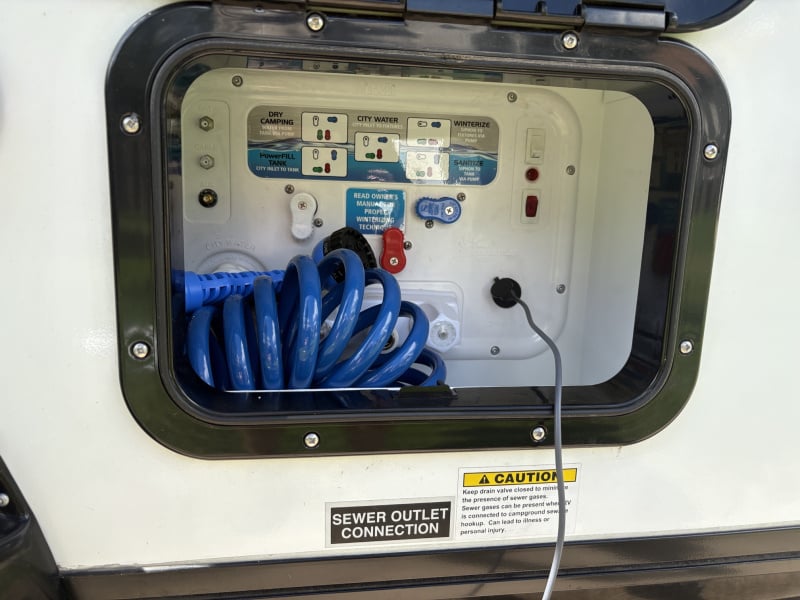
I decided to install it on the driver's side. I liked the idea of having the bulkhead pass through port mounted in the Nautilus where it'd be more protected from the weather, and I wouldn't have to drill a hole in the body of the 320. I popped out the dummy plug for the black tank flush connection and and clipped off the plastic retaining clips located on the back side of the Nautilus. Then I only had to do a minimal amount of filing to enlarge the existing hole enough for the port to fit. A dremel tool made short work of it.
I got a rocker switch so I can control the power to the dish from inside the camper without having to unplug anything. I wanted to mount the switch up next to the radio, but that would have involved more logistics than I was willing to deal with (ie, too much dismantling other unrelated stuff just to make it happen). I though about mounting it down low next to the power converter/fuse box, but I didn't want to be on my hands and knees trying to cut out an opening for the switch while dripping sweat everywhere. And I'm glad I didn't because once I lowered the dinette seat I realized the seat legs (that pull out when you make it into a bed) would have covered up/interfered with the switch.
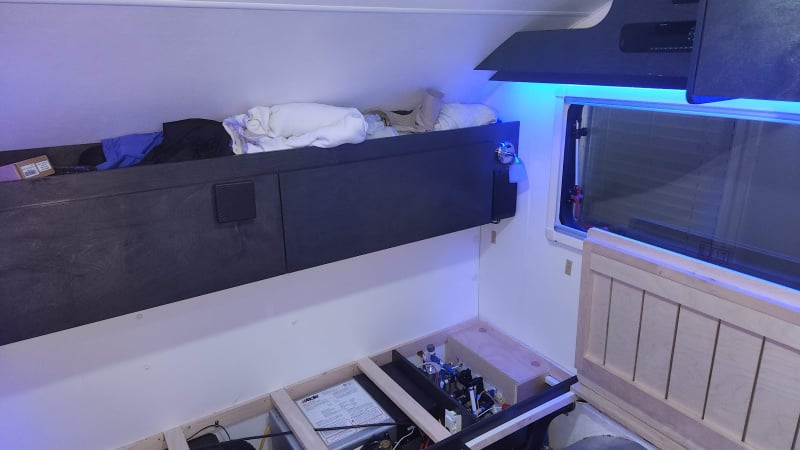
Instead, I ended up mounting the switch in the microwave cubby which I use as an open overhead storage compartment. I chose this location because that's where my cell booster is mounted, the switch will be less prominent in there (I like the cool blue light, but probably not at night though) and there's an access hatch I could take off for easy access to run the wiring down to the electrical area. This also meant I could take the access hatch over to a workbench and take my time getting a square cut into it for the switch that would be, well, square (straight, level).
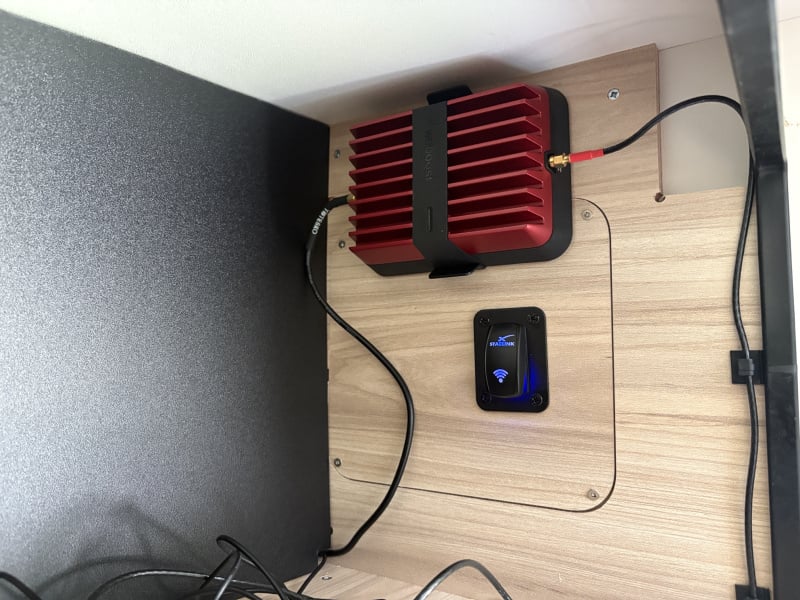
After the switch was all "squared away" I ran a fish tape down the space in the bathroom wall and it came out under the wall in the electrical area under the dinette seat. I taped the three wires needed to operate the switch to the fish tape and pulled them up through the wall and was able to plug them into the switch.
I was originally going to get power by using a piggy back fuse (kind of like an extension cord for fuses) but after taking the face plate off of the converter (or is it inverter?) I realized there was no way to get the wire to the back side without more dismantling of things. So I found a wire for an acceptable circuit (I chose the fan and toilet circuit) and traced it to the spot where it splits off to the different devices.
NuCamp uses a lever-style quick connect housing for their wire junctions, and I noticed that this circuit had an open bay on it's connector. I simply had to lift the lever up on the open bay, insert the end of the "hot wire" and close the lever back down. Then I loosened one of the screws on the ground bus bar and inserted two ground wires into it and tightened it back down. There was a ground wire for the step up converter for the mini and another ground wire for the switch. All that was left was to connect the power wire (accessory wire) from the switch to the step up converter for the mini and then plug everything in.
I was definitely on high alert when I switched the battery back on, but no sparks or melting wires occurred and I had power to the dish. This literally took me all day to accomplish. The majority of it was consulting the all knowing google to verify that I was doing it correctly. I think my biggest source of doubt was getting the rocker switch wired since the directions were nonexistent.
Now I can plug the starlink cable into a power port in the Nautilus when I get to camp, and control the power from inside the Tab via a switch. I like being able to turn the dish on/off without having to run around unplugging things.
The wiring for the system is connected like this: power from battery positive to switch, power from switch to the mini, ground from mini to battery negative, ground from switch to battery negative. I seems really simple once you've done it, but there was a lot of doubt on my end until I got finished.
Anyway, just following up on the above post in case anyone else is considering something similar and hoping it helps.

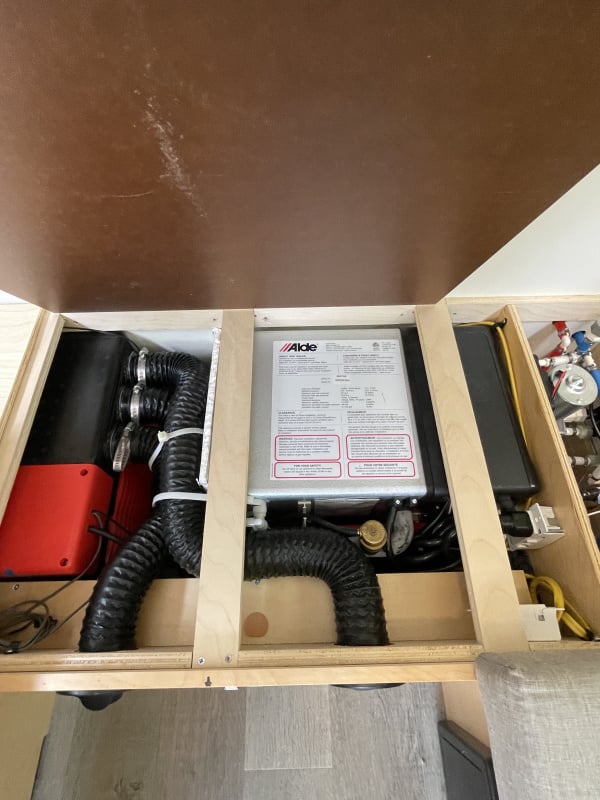
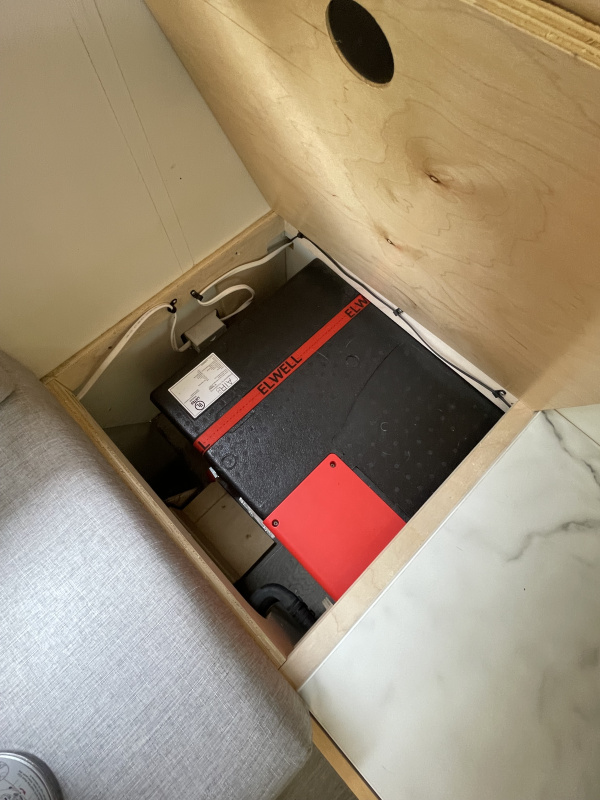
Re: Replacing "Board" on Alde 3010
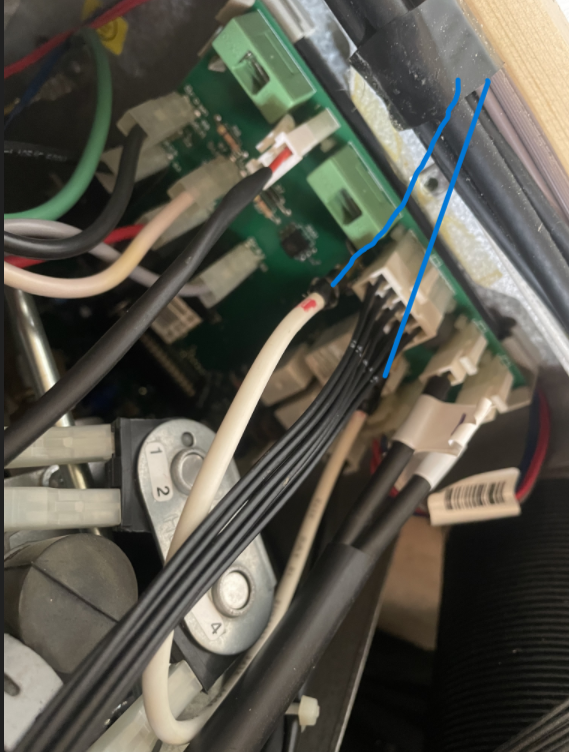
I just did a "Failed Circuit board" repair. It was the thermal fuse. The first thing is to confirm the (replaceable) fuses are good and then check the thermal fuse. do this by putting a temporary jumper from one side of the thermal fuse to the other. an Alligator clip jumper works great just so you can allow the 12v to get from one side of the fuse to the other. If you install the jumper and the unit fires up, you found your culprit. As this fuse is a safety device, remember jumpering is only a troubleshooting step, not a permanent solution. (in the below photo, The jumper is the white wire loop with the 2 light blue mark-up lines coming off it) To further my repair, I actually mounted Circuit board mount style screw terminals in the place where the old fuse was, and connected the thermal fuse to the screw terminals. I did this for 2 reasons. Soldering a thermal fuse is hard….the heat from the soldering iron can ruin the fuse, and like some had said, if I'm camping, not likely to have a soldering iron in my tool kit (I do carry the alligator jumper though) in the future, as others have stated, make sure the ALDE is not getting power hits as the camper is plugged in to the Tow Vehicle, Shore Power etc. The way I look at it is every time the 12v converter comes on line, it has the potential to send a surge to downstream components. I took the 12v line going to the ALDE and installed a 2 pole switch in the cabin. The ALDE is switched off until power is stable and I am ready to energize it.